How to Add Reschedule and Cancellation Links to Your GHL Calendar
Updated March 8, 2023
Without proper cancellation and reschedule links in your GoHighLevel calendar, clients have no easy way to manage appointments — increasing no-show rates and wasted time. This guide walks you through updating custom values in your calendar confirmation settings and reminder campaigns so clients can reschedule or cancel with a single click.
Properly setting up your calendar is crucial to maximizing your business opportunities and enabling your clients to book appointments with ease. Additionally, it is essential to provide your clients with the ability to reschedule or cancel appointments conveniently to reduce the risk of no-shows. In this post, we’ll guide you through the process of preparing and making your reschedule and cancellation links easily accessible to ensure a smooth appointment management process.
Step 1: Update the custom values within the calendar.
- To edit a calendar that you have already created, go to the “Calendars” option under “Settings”.
- Click on the “…” button next to the calendar you want to modify and select “Edit” from the dropdown menu.
- Next, locate the “Confirmation” tab in the popup window and scroll down to “Additional Notes”. Here, you can personalize the message to your liking and ensure that you update the custom values to the following:
- Reschedule: {{appointment.reschedule_link}}
- Cancellation: {{appointment.cancellation_link}}

- Save to confirm your changes.
Step 2: Update the custom values within a confirmation/reminders campaign. To enable your leads to reschedule or cancel appointments through a confirmation and reminder campaign, you can utilize the same custom values as mentioned earlier.
- Create a trigger that is activated when an appointment is scheduled, such as through the Appointment Confirmation and Reminder Campaign. This trigger will then move the lead into the Appointment Confirmation and Reminder Campaign.

- You will notice that the triggered SMS response contains the customized values.
- NOTE: These custom values will only work if the campaign is triggered by an “Appointment Booked” trigger.
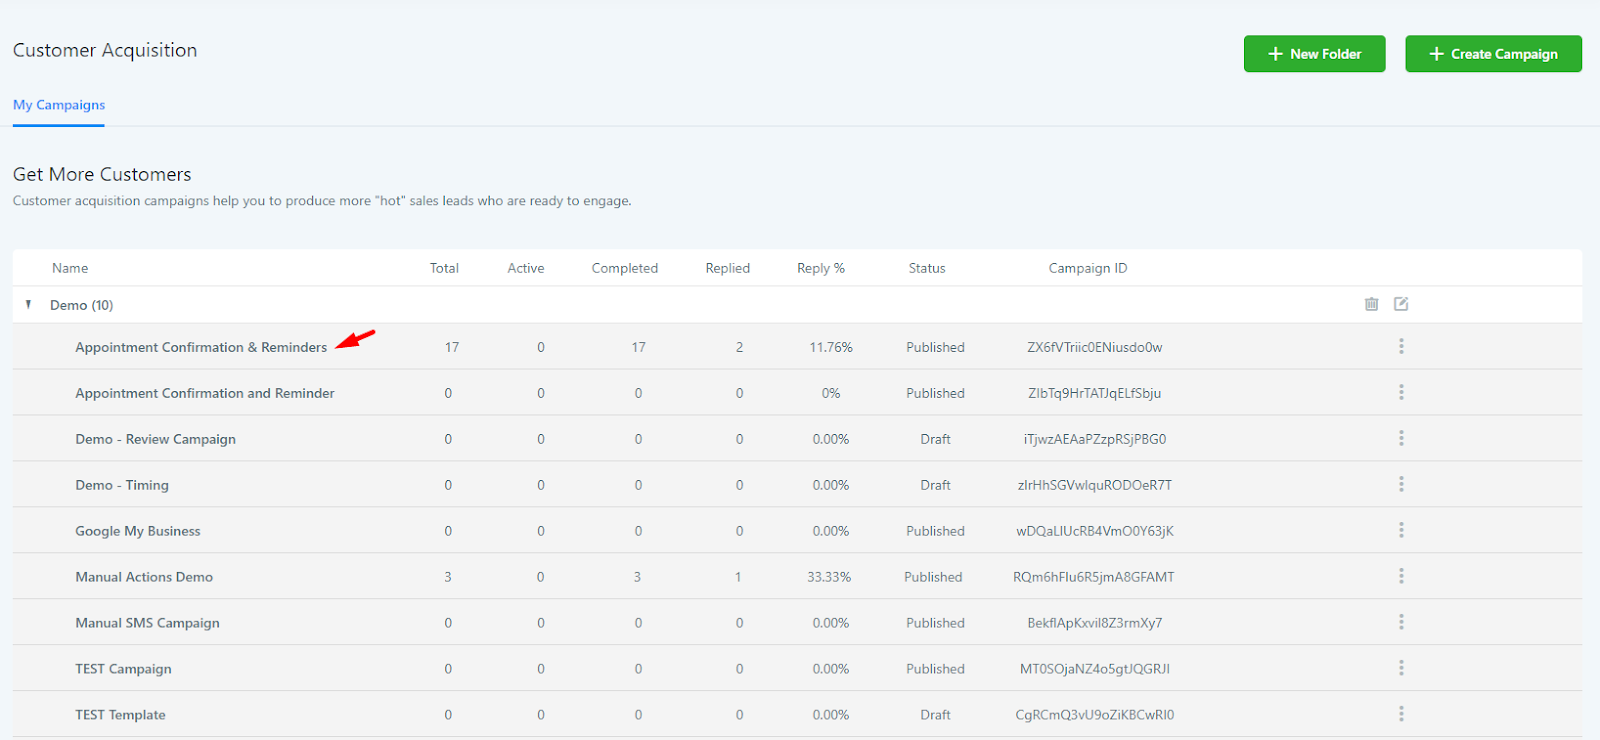
- To verify the custom values for SMS, go to the “Appointment Confirmations and Reminders” campaign under “Campaigns” and confirm that the correct values are set up as follows:
- Reschedule: {{appointment.reschedule_link}}
- Cancellation: {{appointment.cancellation_link}}
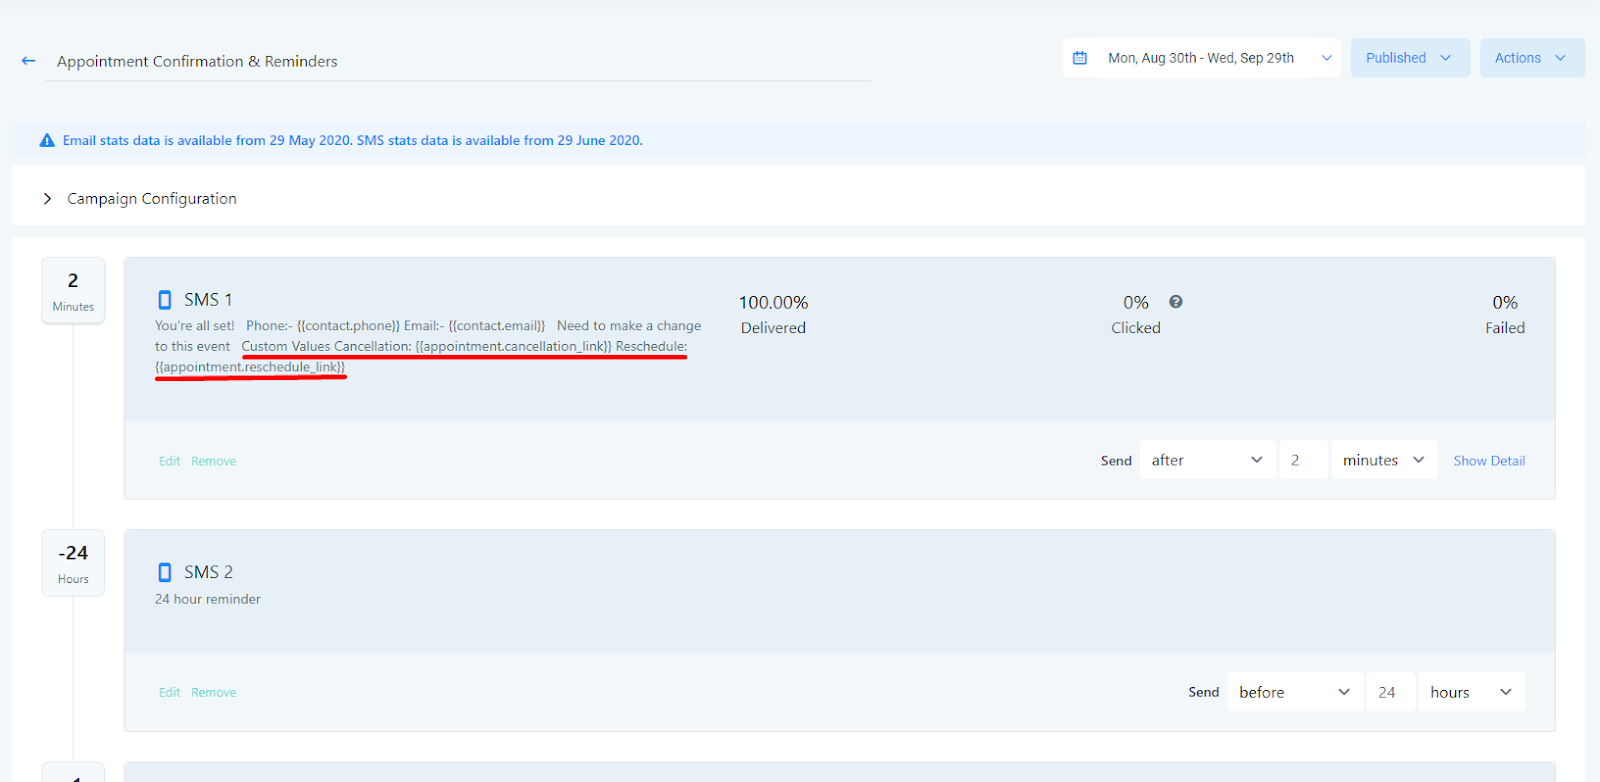
- Open the campaign and navigate to the contact. Scroll through the messages until you find the reschedule and cancellation link. By clicking on the cancellation link, you can see that the link is functional as it leads to a text field for entering a “cancellation reason”.
- Remember to save any modifications made to the campaign and activate it for it to begin running.
Keep learning