How to Sync Any Third-Party Calendar with GoHighLevel Using Calendar Bridge
Updated March 8, 2023
Many marketing agencies lose bookings because their preferred calendar platform does not natively connect to GoHighLevel. Using Calendar Bridge, you can sync any third-party calendar through Google Calendar and get it fully integrated with your GoHighLevel CRM and scheduling system.
This post will guide you on how to set up a Calendar in your account with the help of Calendar Bridge. With Calendar Bridge, you can easily sync multiple calendars. Even if you have a non-Google or non-Outlook calendar, you can sync it with a Google calendar and use it as a bridge to sync with the system. Follow the steps in this article to get started.
NOTE: We provide detailed tutorials on integrating with Google or Outlook Calendars separately. Please refer to those articles for step-by-step instructions on each calendar integration. Alternatively, if you want to integrate with any other third-party calendars, you can follow the instructions below.
Step 1: Get Started with Calendar Bridge
- To begin, sign up for a Calendar Bridge account on CalendarBridge.com.
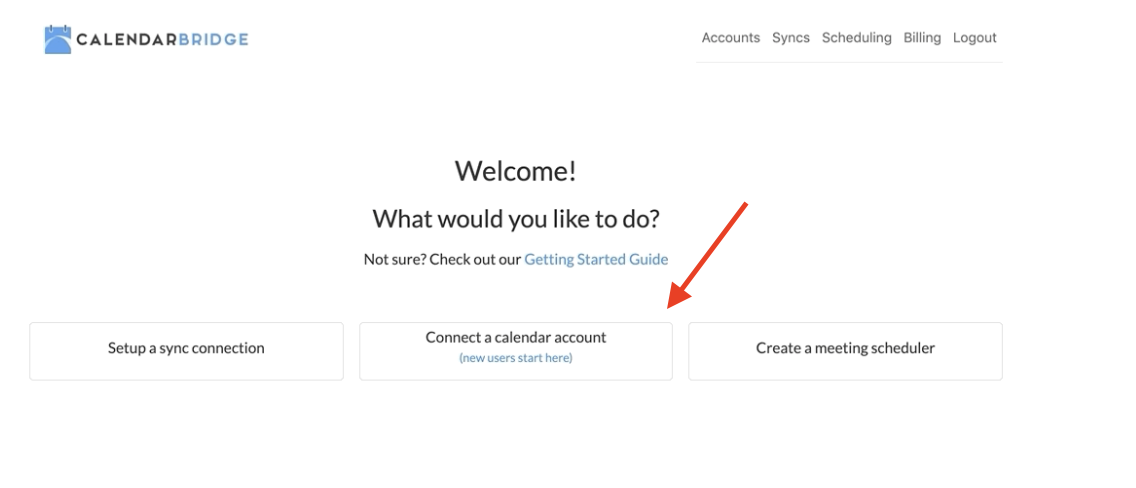
- Then, choose “Connect Calendar Account” and follow the steps to connect your calendar accounts. You will need to connect both your third-party calendar and a Google Calendar.
- After successfully connecting both accounts, click on “Start Syncing Calendars” on the following page.
- Then, choose the calendar you want to integrate as the ‘Source’ Calendar and select the Gmail Calendar as the ‘Destination’ Calendar. Finally, make your synchronization selections and proceed.

Step 2: Integrate Google Account with CRM
- To get started with Google Integration, go to the Settings menu, then click on Integrations, and choose “Connect Google Account.”
- Follow the steps provided to complete the Google Integration process.
- You can either assign the Google calendar to a calendar associated with an account or assign it to a calendar associated with your user profile.
- NOTE: If you prefer to assign the calendar to your user profile, go to Settings, select Team Management, choose the user profile you want, then scroll down to ‘Calendar Integrations’ and click on Google Calendar.
- To check if the necessary schedules are reflected, go to the Schedule menu, choose Calendar, and select the calendar you want to view (either the user calendar or the account calendar).
Keep learning