How to Customize Your GoHighLevel Calendar Widget Colors and Layout
Updated April 1, 2024
A poorly branded booking widget undermines client trust and creates a disjointed experience across your agency's funnels. By following this guide, you'll configure your GoHighLevel calendar widget's primary color, background, button text, and hidden details to match your brand perfectly.
Calendar Widget – ‘Continue’ Button Update
Just a heads-up! We’ve spruced things up by relocating the Continue button within the calendar widget. If you’ve implemented any CSS customizations, please double-check and adjust them to match the new placement.
What is Calendar Widget Customization?
The customization options available for Calendar Widgets are crafted to grant you authority over both the visual aesthetics and operational aspects of your widget. Leveraging this robust functionality empowers you to tailor your widget to align perfectly with your preferences, ensuring it stands out as a distinctive reflection of your style and requirements.
How to Customize your Widget?
- Navigate to Calendar Settings
- Click on “Edit” for the specific calendar you wish to customize
- Head to the “Customizations” tab.
Note: Widget Customizations work ONLY with NEO WIDGET
Understanding Customization Options:
Here, you have the freedom to tailor your calendar widget to suit your preferences. Explore the following customization options:
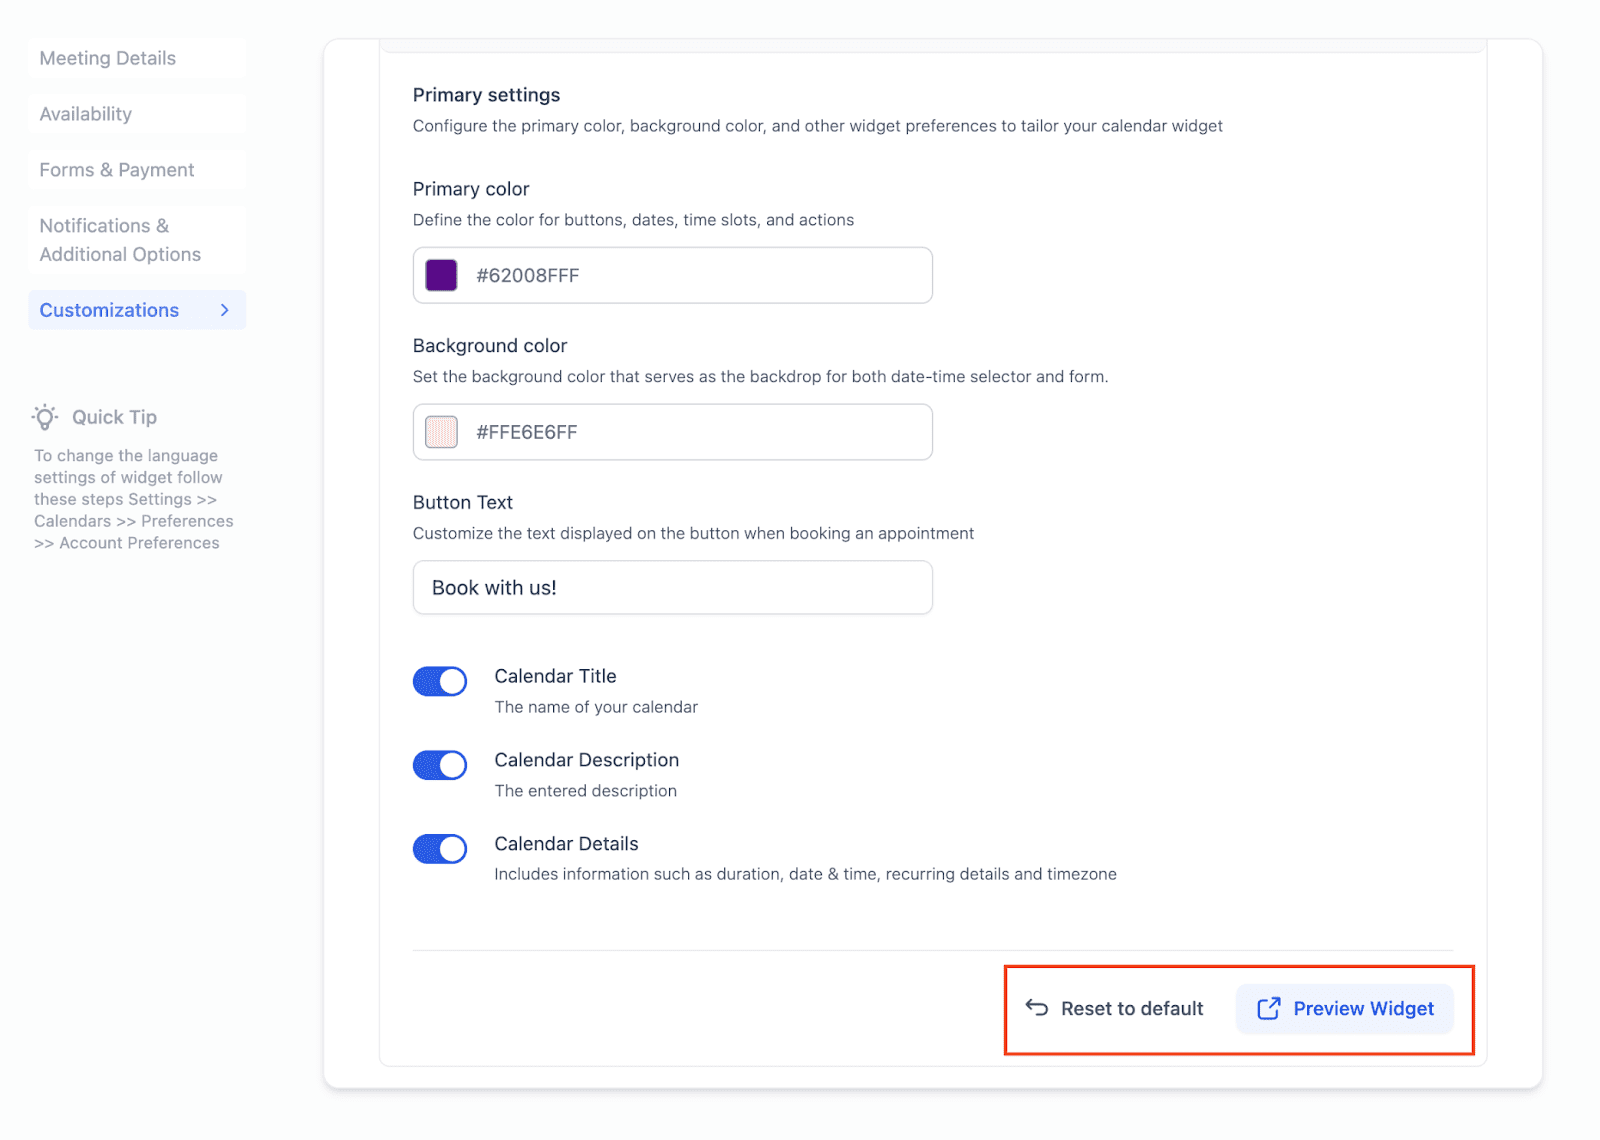
- Primary Color: This will impact buttons, dates, time slots, and various actions within the widget such as Staff Selection, Add Guests etc.
- Background Color: The background color sets the tone for both the date-time selector and the form. If you’ve got a custom form, its background will mirror the chosen background color, but the form’s fields are determined by your specific custom form settings.


Note: When using custom forms, make sure the theme syncs up with your widget customizations for a seamless look.
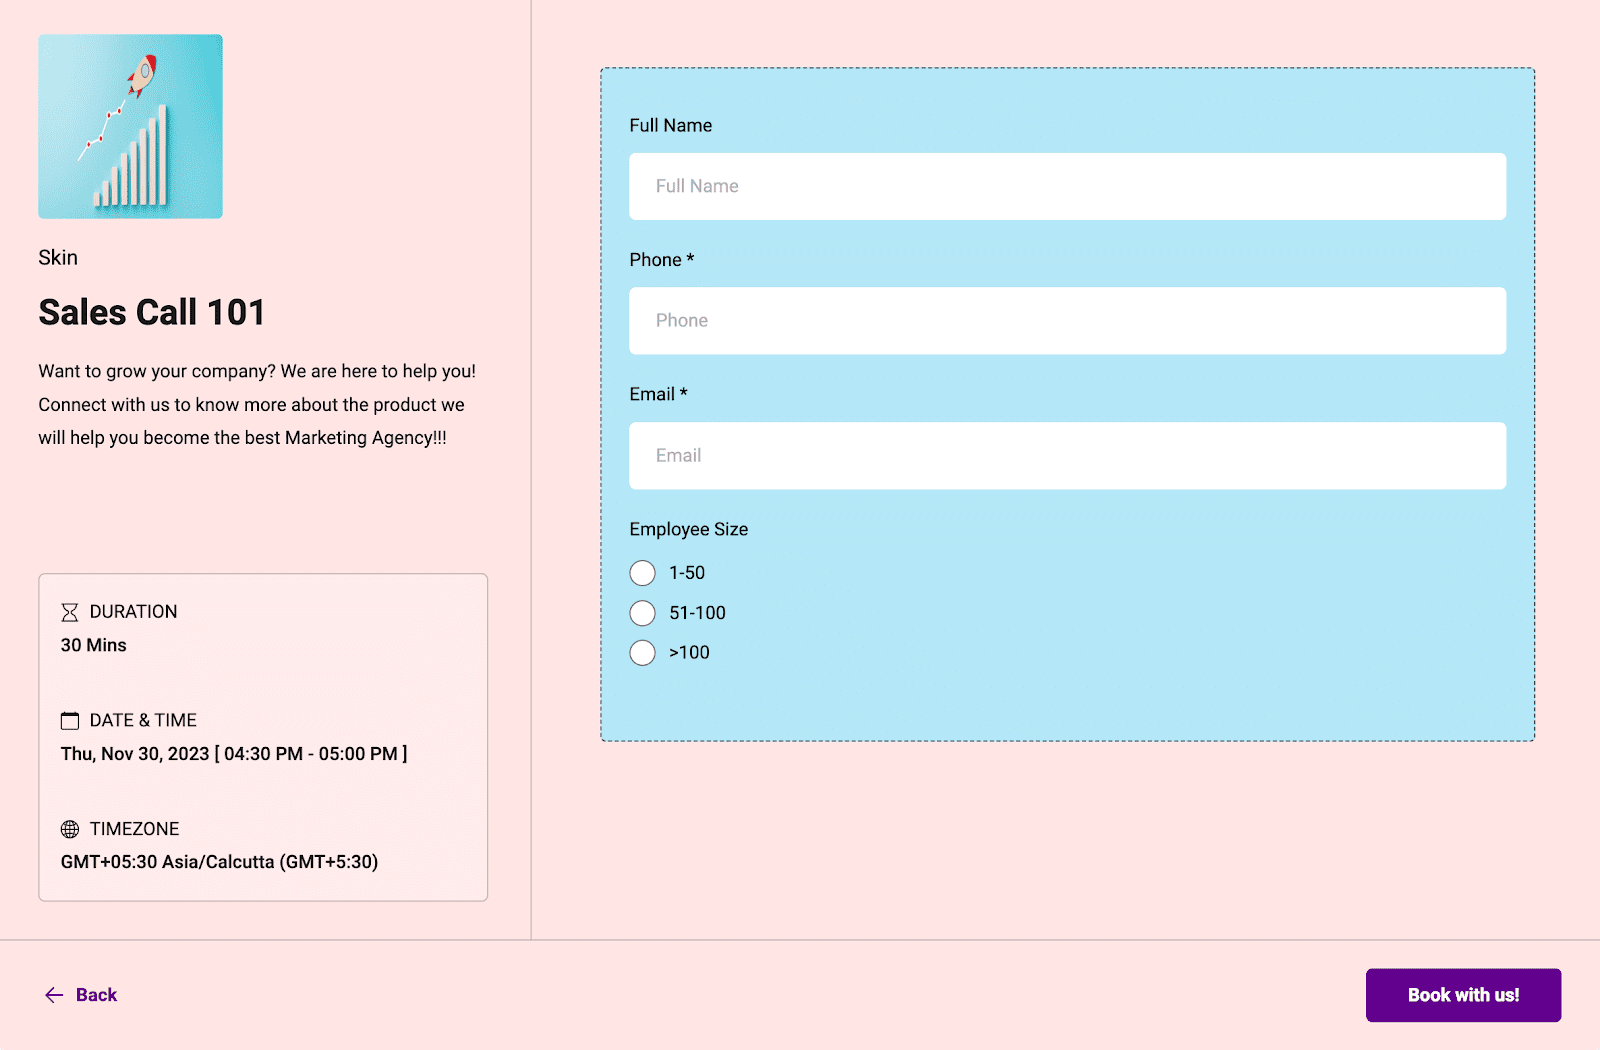
Example of Customized Widget with CUSTOM FORM
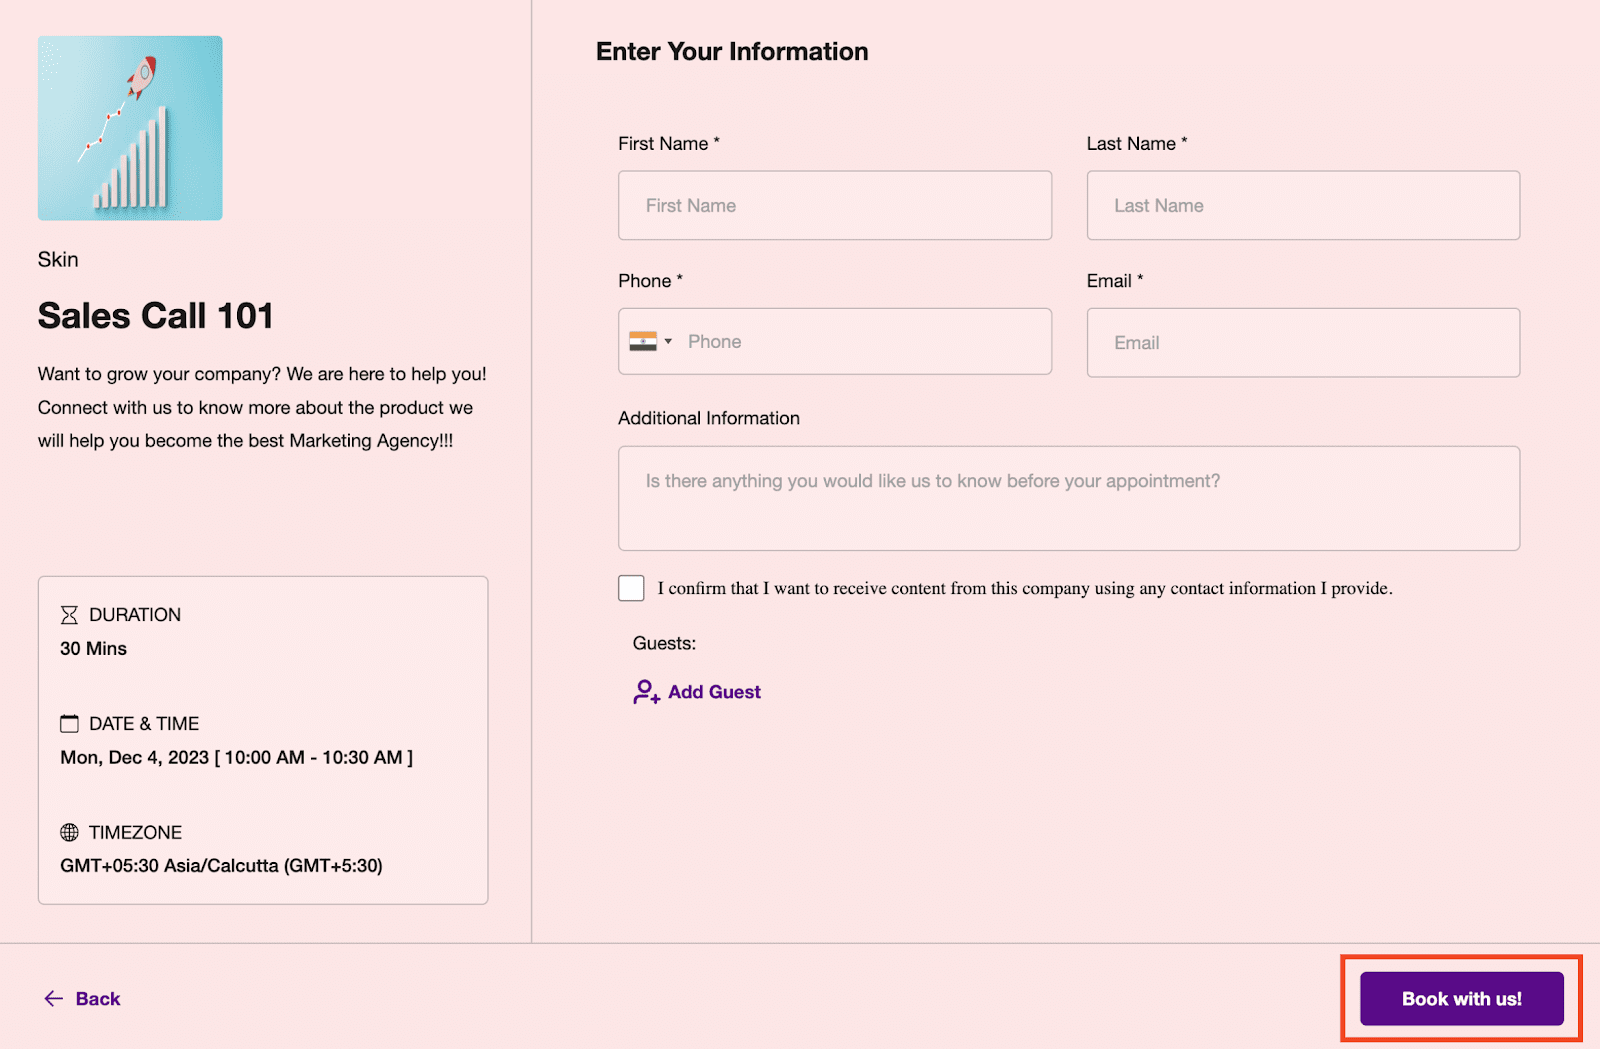
- Button Text: Customize the text displayed on the button when booking an appointment. This is the text that will be displayed on the final step of booking the appointment. Examples: Book now, Schedule Meeting, Book Appointment.
- Hide Calendar Details: You can now hide the calendar name, description, and details such as duration, date & time, recurring details, and timezone from the left panel.
Note: If you wish not to show the logo, simply remove it from the meeting details tab
- Preview Your Changes: Utilize the “Preview Widget” feature to visualize how your changes will appear during the appointment booking process. Each time a new change is made, you will need to click on the “Preview Widget” option to see the updated setting.
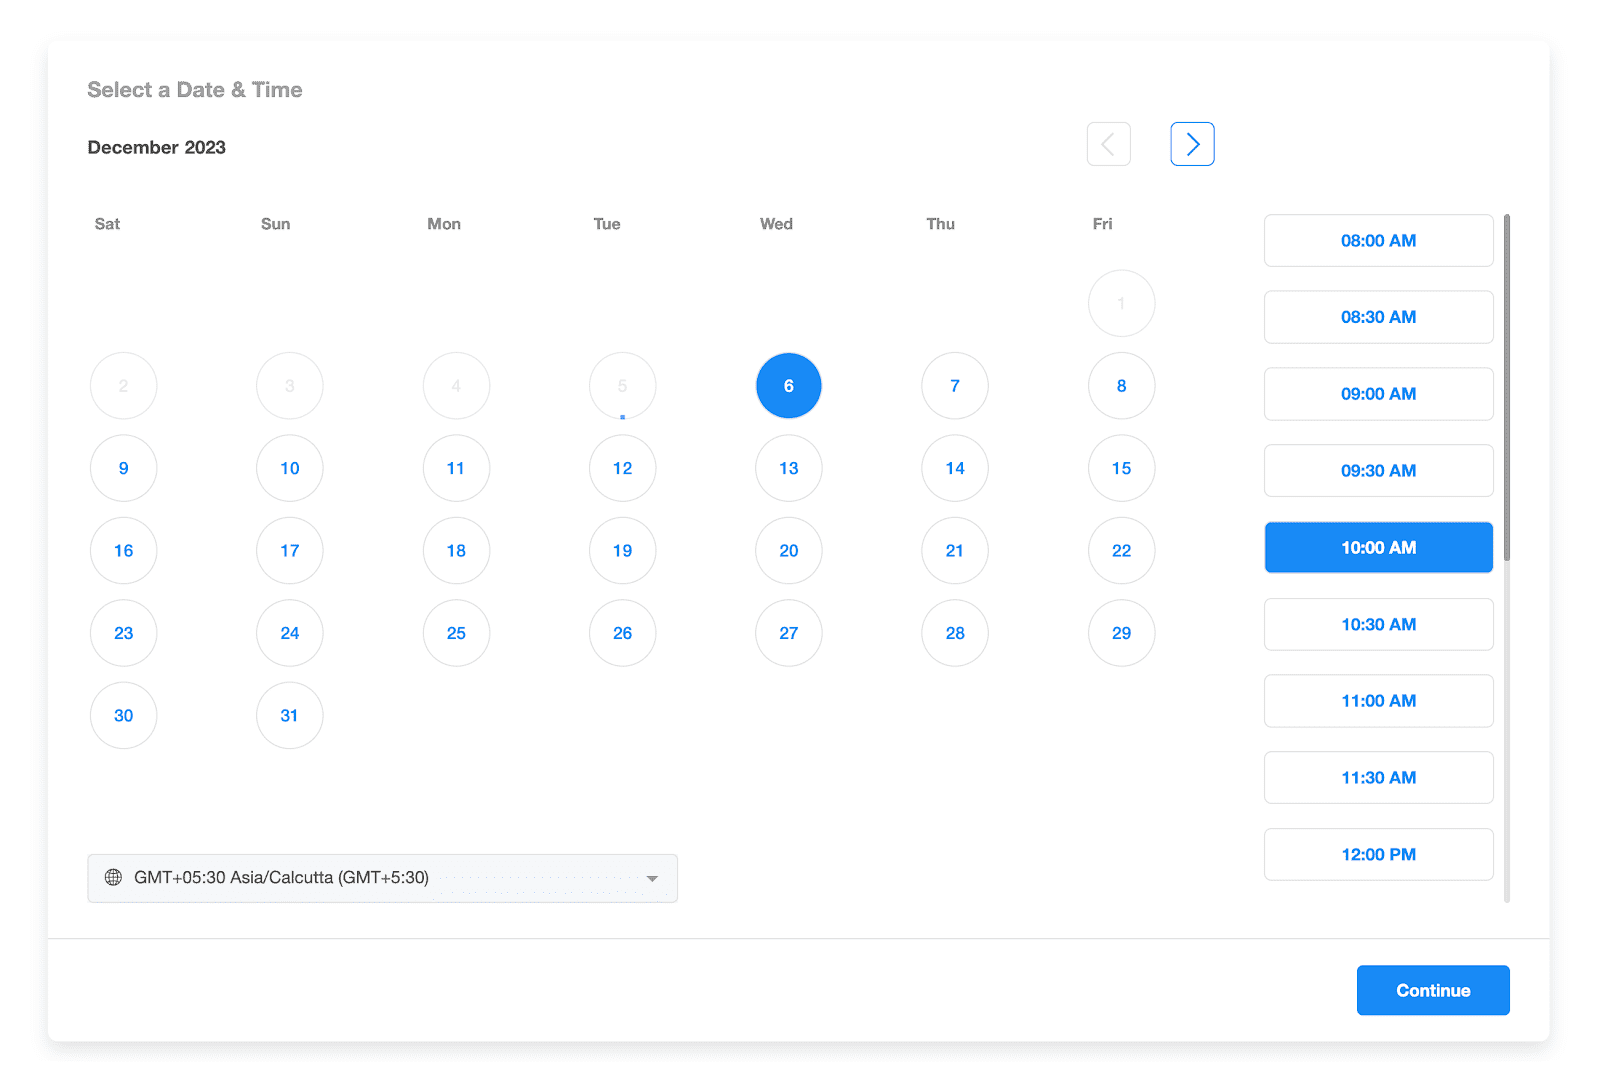
- Resetting to Default: If needed, the “Reset to Default” option will revert all customizations to the default blue and white calendar widget settings.
Examples
FAQs
Q: Which calendars support customization?
A: The customization feature is available for all calendar types, including Event, Round Robin, Class Booking, Collective, and Service Calendars.
Note: Customizations will not work in the Service Menu
Q: Can I incorporate a custom form?
A: Absolutely! You can add a custom form, but ensure that your custom form theme complements the overall widget customizations.
Q: What if I have added CSS customizations?
A: CSS customizations take precedence over the widget settings. Your custom styles will be prioritized, ensuring that your personalized design choices shine through in the calendar widget
Q: I want the entire left panel disabled, but even after turning off settings, I still see it. What should I do?
A: To fully disable the entire left panel, make sure to check the following settings:
Calendar Details Settings:
- Disable Calendar Name.
- Disable Calendar Description.
- Disable Calendar Details.
Logo Removal:
- Remove any logo associated with the calendar.
Customizations Tab:
- Disable “Allow Select Staff” option from the Customizations tab.
Pro Tip
To achieve optimal visual appeal, we suggest opting for contrasting primary and background colors. Finding the right balance between light and dark hues typically produces the most visually pleasing results. Feel free to explore various combinations until you discover the ideal appearance for your personalized calendar widget.
Keep learning