How to Block Off Time in Any GoHighLevel Calendar
Updated March 9, 2023
Managing availability becomes messy when outside commitments, time off, or off-platform bookings aren't reflected in your GoHighLevel calendar. This guide walks you through blocking off time for yourself or any team member, ensuring your calendar accurately shows when you're unavailable.
There are many reasons why you may want to block time out of your calendar’s regular availability, such as being away or out of the office, or having something scheduled outside of your system during that time. You can also block off time in other people’s calendars. Follow these straightforward instructions to block off time in your calendar.
Step 1: Creating Blocked Time
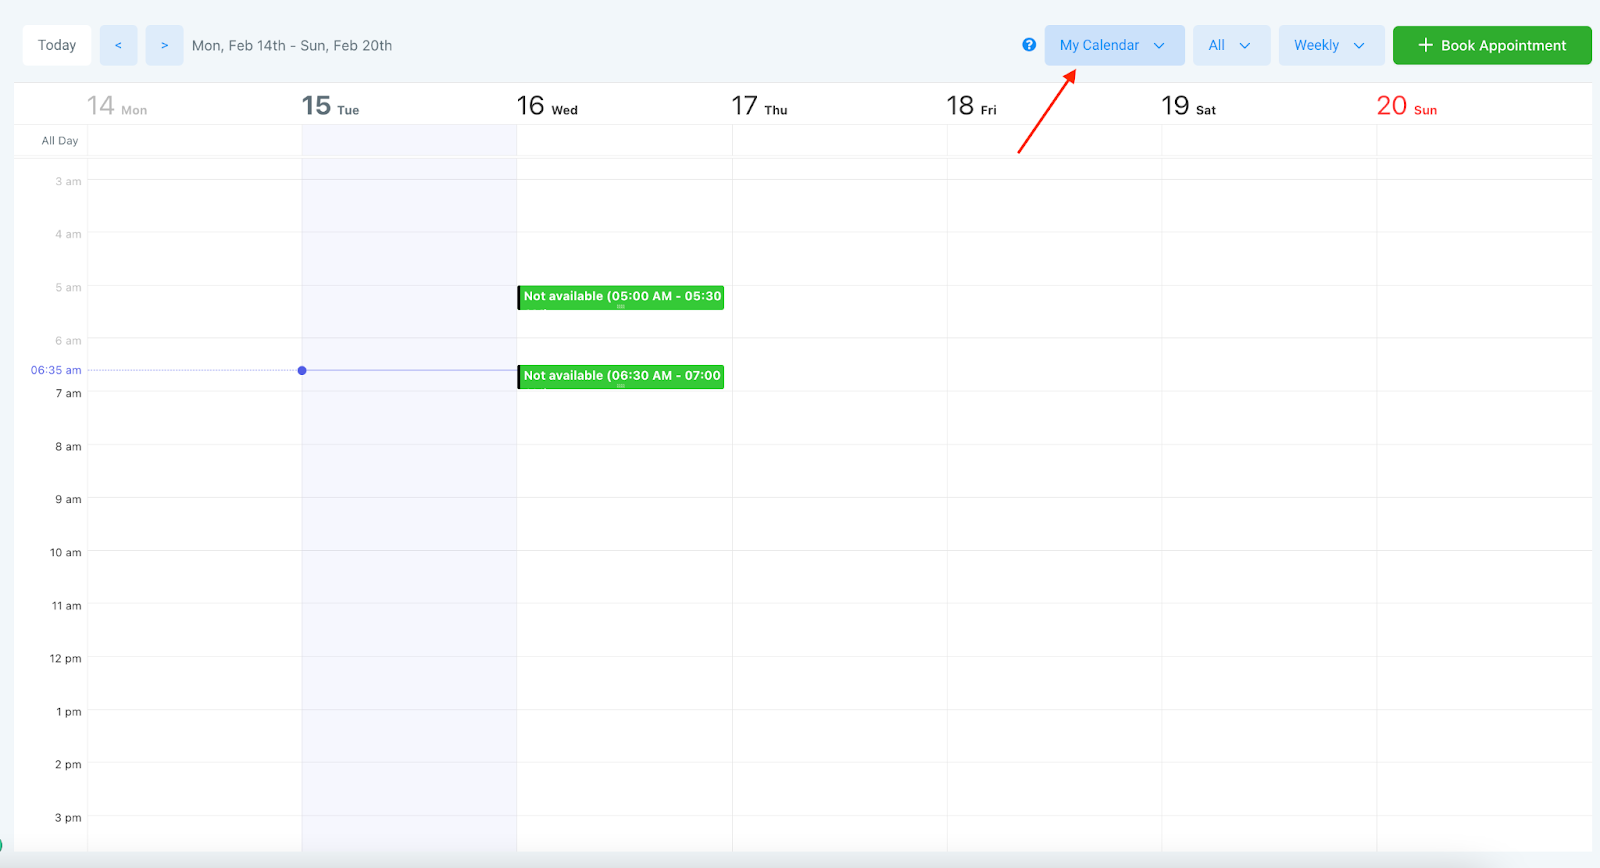
- Go to the Calendars section and select the calendar for which you want to block off time.
- Next, choose the date and time at which you want to begin marking as unavailable.
- A window will pop up with two choices:

- Select the option “Add Blocked Off Time” and choose the user from the dropdown menu to mark the time as unavailable in their calendar.
- NOTE: You can use the calendar dropdown to switch between different users’ calendars, and within a user’s calendar, you can still specify who the blocked time is for by selecting the appropriate user in the pop-up.
- Enter the necessary information, such as the time zone, start and end time, and a title or description.
- Click “Save Event” to add the blocked off time to the calendar.

Keep learning