
How to Create and Launch a Campaign in GoHighLevel
Updated March 10, 2023
Without an automated follow-up sequence, leads go cold before you ever get the chance to convert them. This guide walks you through creating a GoHighLevel campaign — from naming and configuration to adding multi-step events and publishing your sequence live.
This tutorial will guide you through the process of creating a simple campaign. Campaigns are a series of automated events (such as emails, SMS messages, calls, voicemails, etc.) designed to assist you in acquiring and converting leads while you concentrate on managing your business.
Step 1: Create a Campaign.
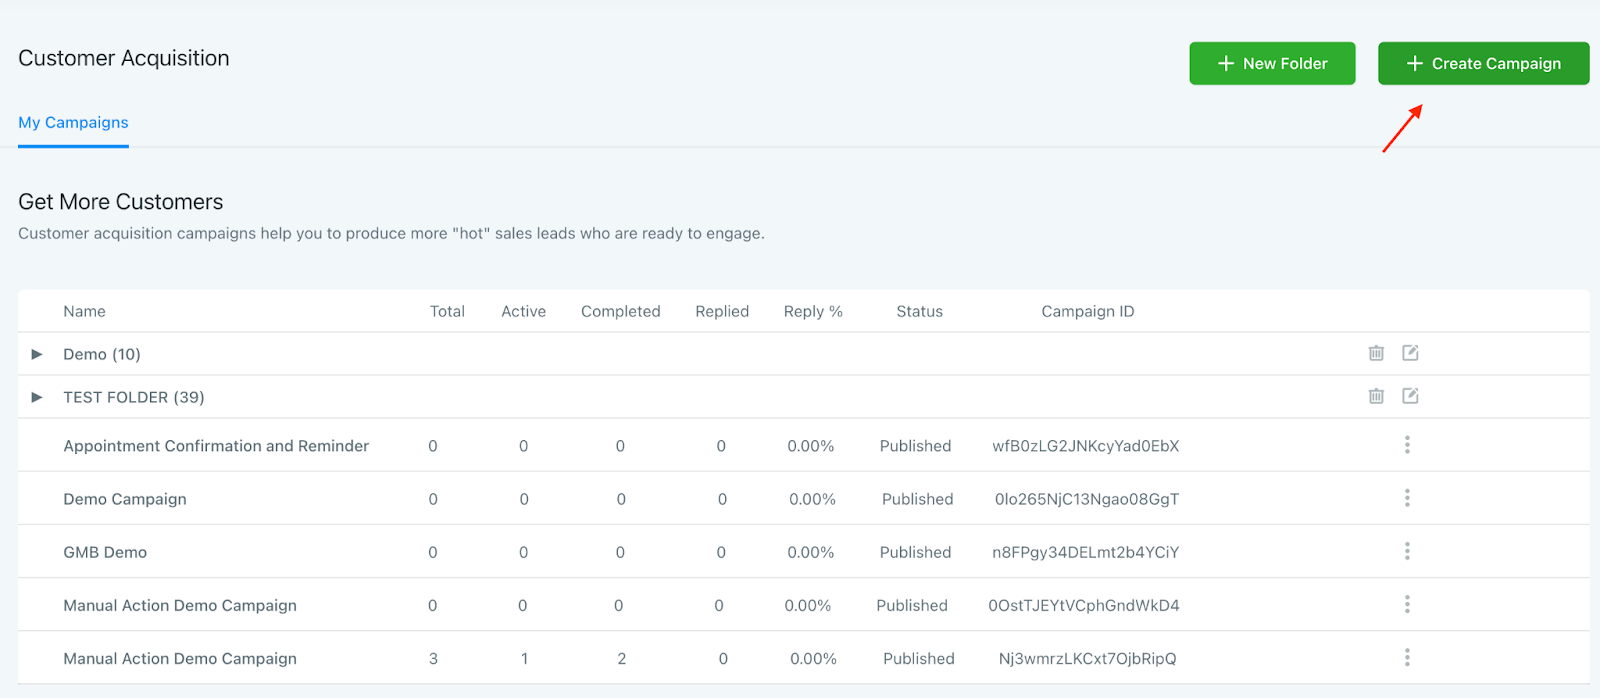
- Generate a campaign by clicking on the +Create Campaign option located in the top right corner.
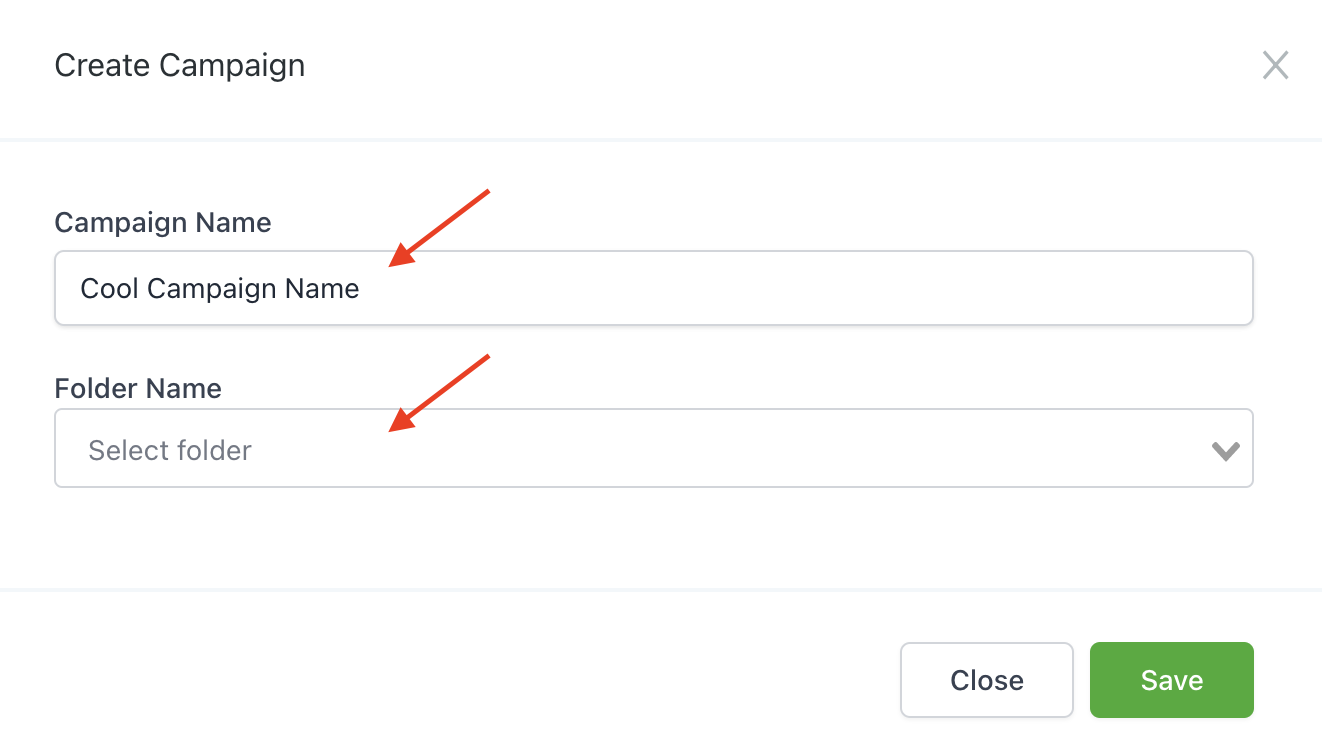
- Select a suitable name for your campaign and then click on the Save button.
Step 2: Setup the Campaign Configuration.
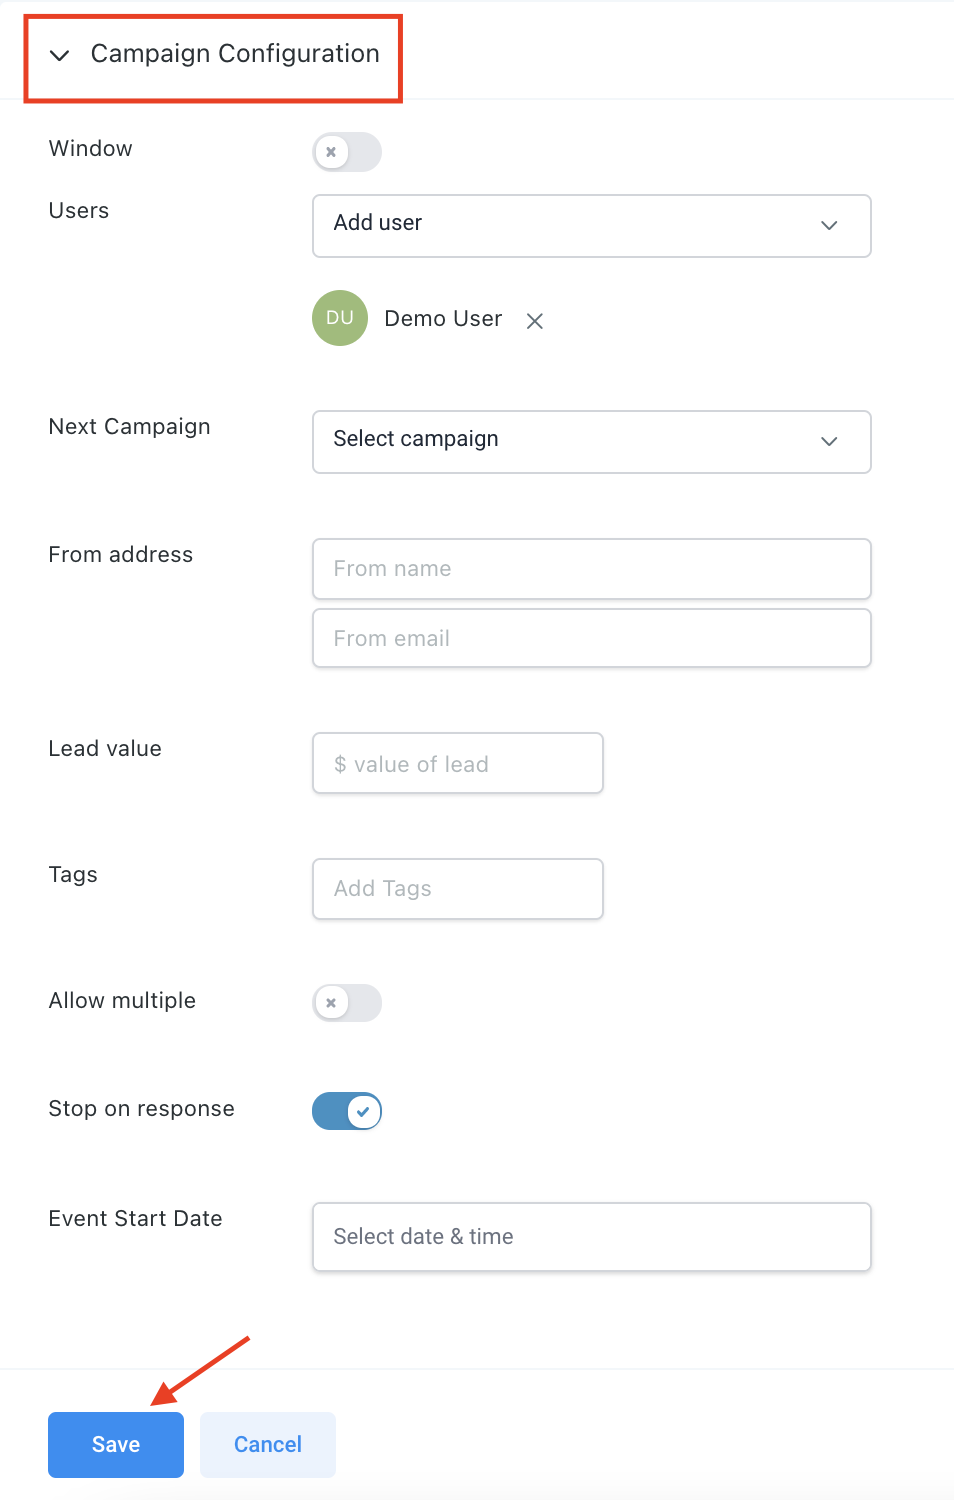
- Utilize the dropdown menu for “Campaign Configuration” to configure the settings for your campaign. You can define a time window for the delivery of campaign events (for example, Mon-Fri 8 am-5 pm), allocate users from your system to the campaign, automatically determine the next campaign contacts/leads, and much more.
Step 3: Add events to your campaign. These events will be your automated sequence.
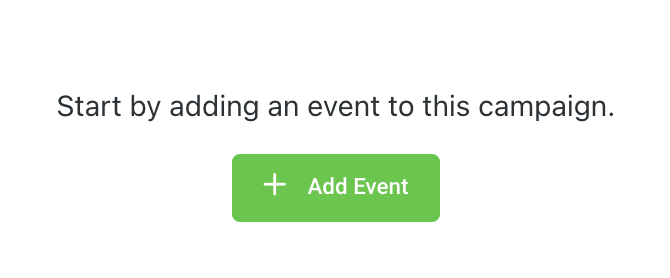
- To include a new event, click on the +Add Event option.
- In the pop-up window, choose the type that you want to use.
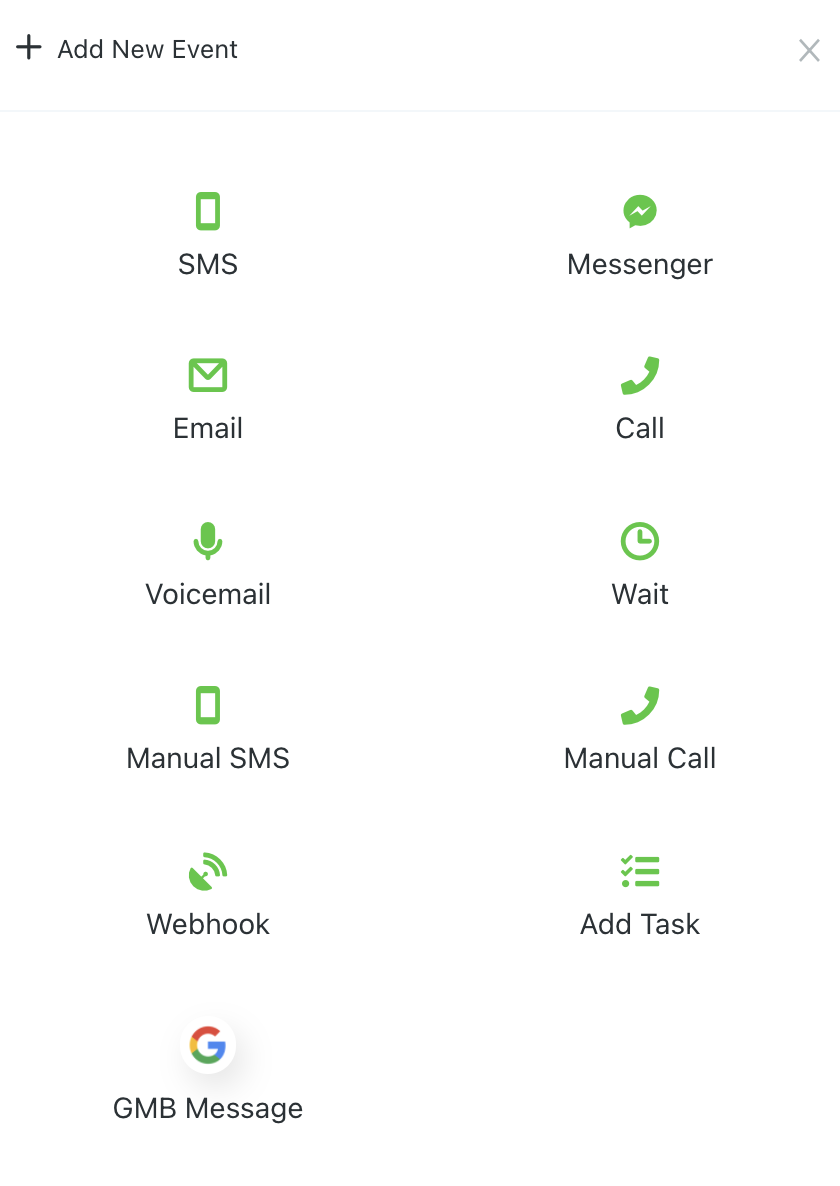
- There is a broad range of possibilities that you can achieve with events. Some notable highlights include:
- It’s possible to include multiple types of events in a single campaign.
- You can modify the timings of your events according to your preference.
- You have the option to dispatch it immediately or delay it for any number of minutes/hours/days.
- It’s essential to keep in mind that the subsequent event will be in relation to the previous one.
- For instance, if the first event is scheduled to send 30 minutes after a lead is added to the campaign, and you introduce a 30-minute wait for the second event, the second event will dispatch 30 minutes after the first event.
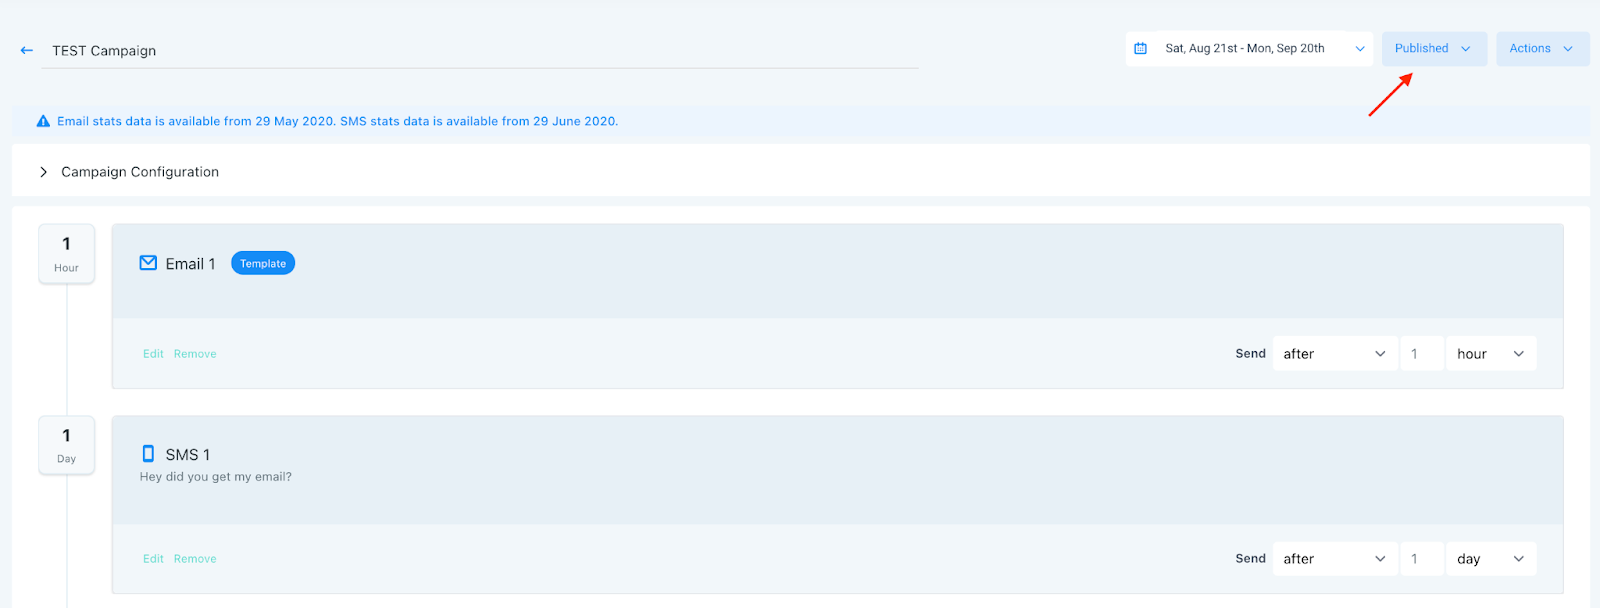
After you’ve finished creating your campaign, it’s important to change its status from draft to published so it can start running.
Keep learning