
How to Use the GoHighLevel Social Planner to Schedule Posts
Updated January 17, 2023
Managing multiple social media accounts across platforms drains time and creates costly scheduling gaps for agencies. With GoHighLevel's Social Planner, you'll connect your social accounts, compose and schedule posts, and monitor performance stats from a single dashboard.
Use our Social Planner social media tool to keep all your social media managed in one spot. With this feature, you can manage your social accounts, save time by scheduling posts, and learn what your social media audience thinks. Follow these steps to get started:
Step 1: Connect Your Social Media Accounts
- Integrate the account(s) you wish to use. Click the icons to integrate Facebook, Google My Business (GMB), Instagram, or LinkedIn.
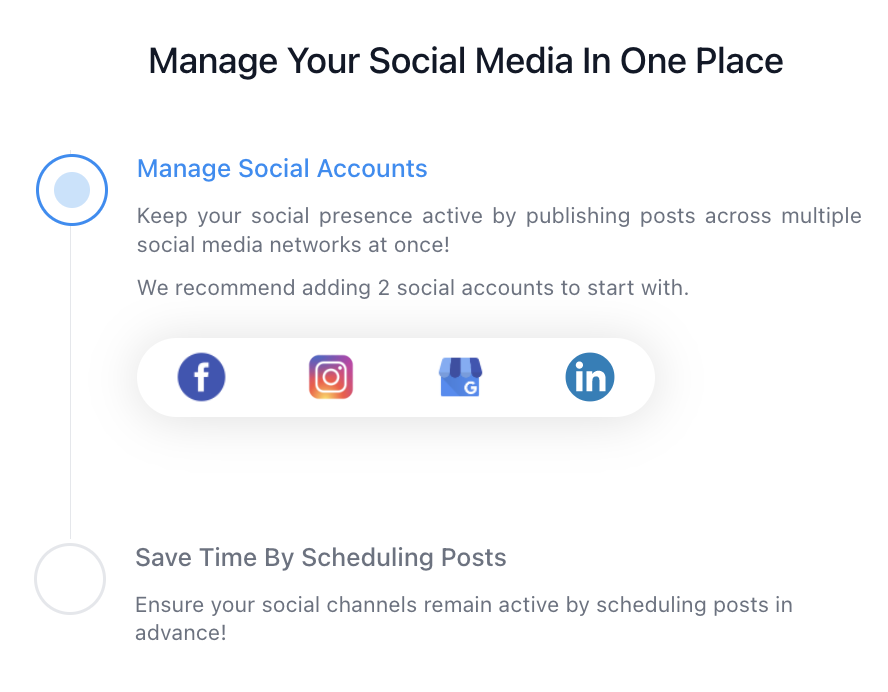
NOTE: This pop up will only appear the 1st time you access the Social Planner. To add or change connected accounts later, please use the Settings feature (gear icon) within the Social Planner.
- When you integrate an account, a popup window will appear, asking you to give permissions to LeadConnector. Granting the permissions requested will allow the integration to complete.
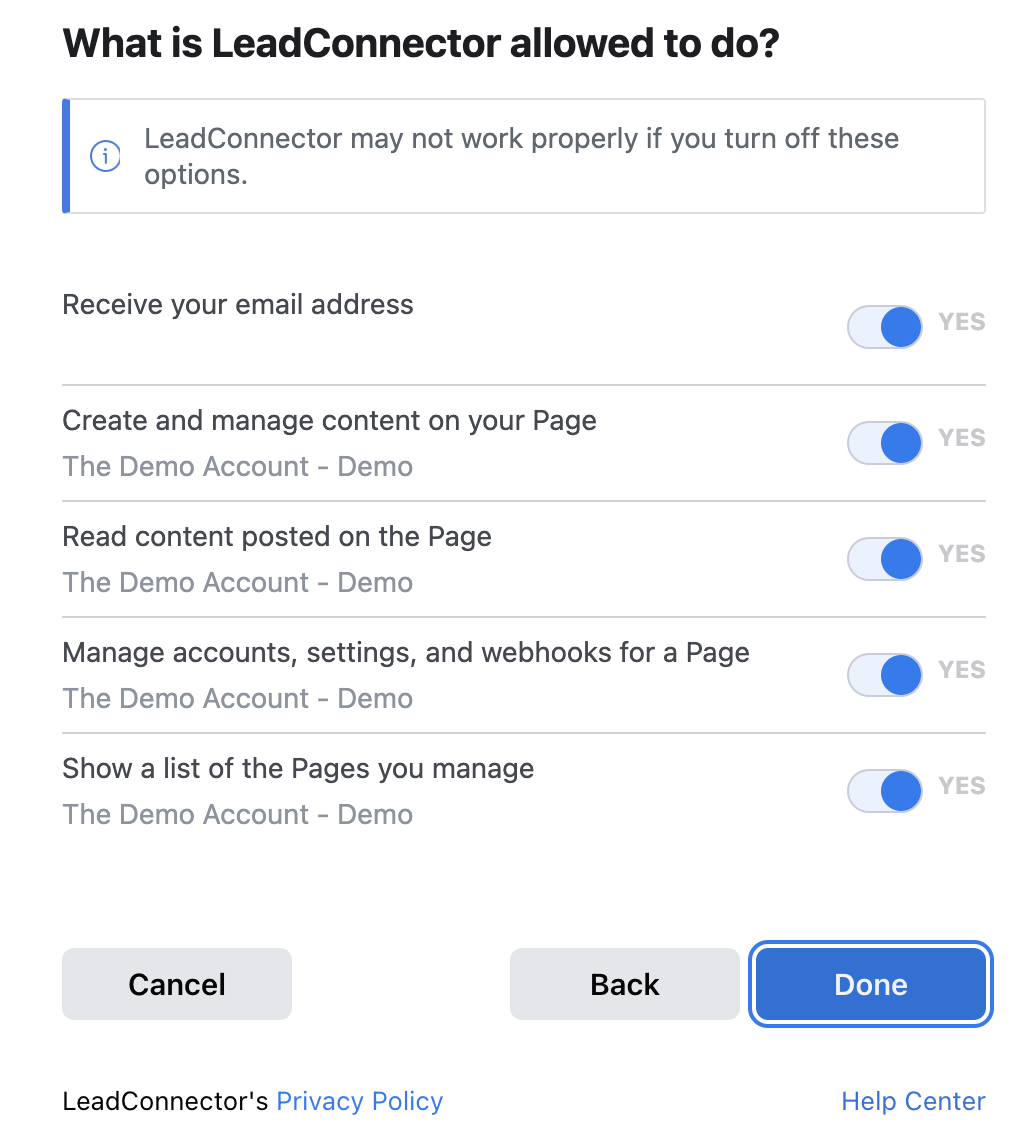
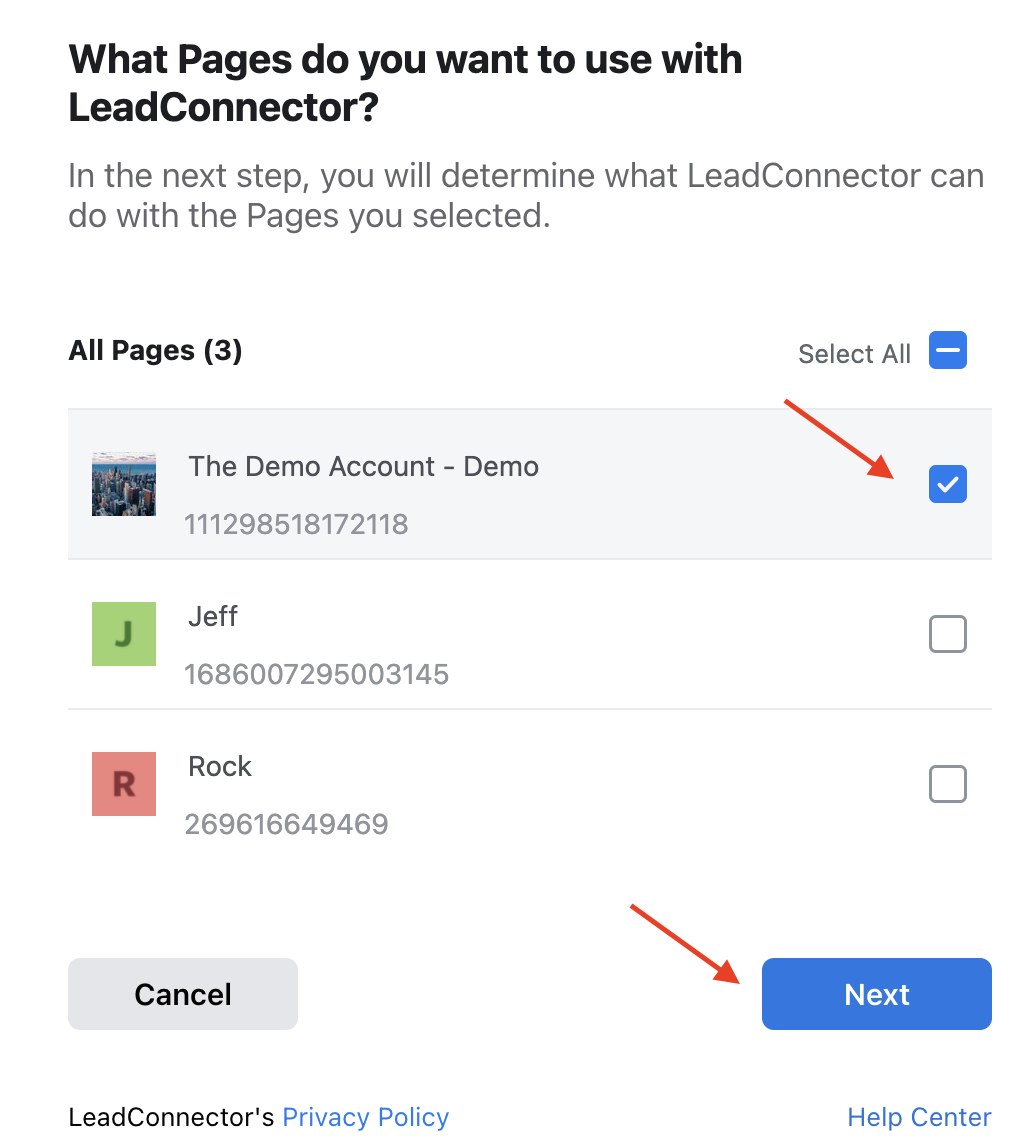
- Select one or multiple Facebook, GMB, Instagram, or LinkedIn account pages to integrate. Click “Next”.
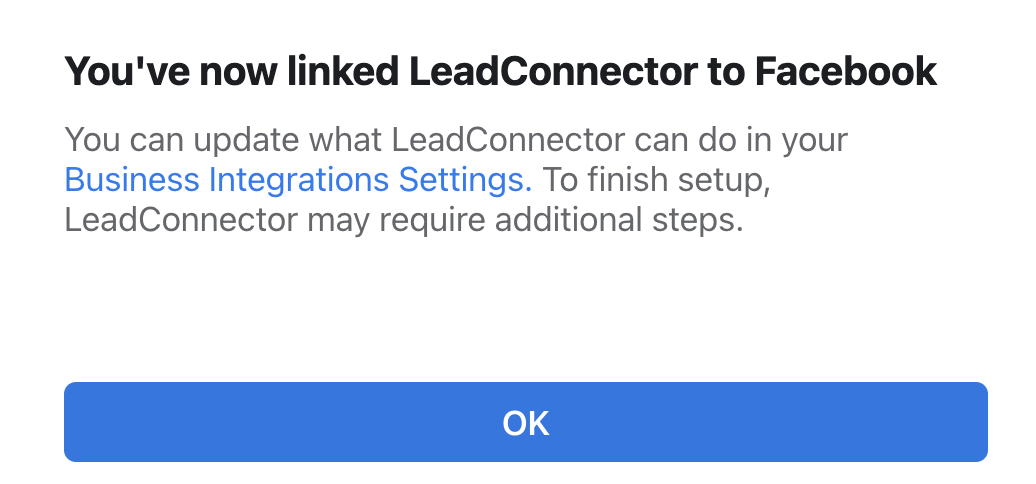
- Click “OK” and LeadConnector will be integrated with your system.
- The page(s) you selected above to allow permissions for are now ready to connect. Select one or multiple and click “Allow”. The integration will now be complete.
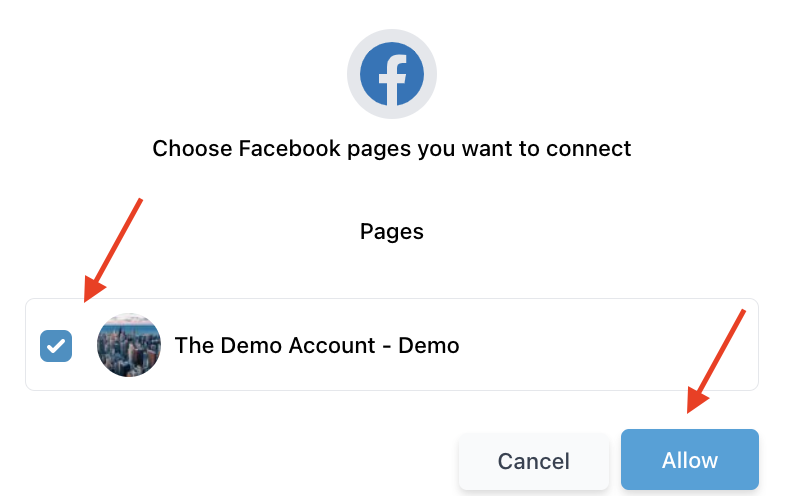
- NOTE: You may have multiple accounts from the same source connected (i.e. multiple Facebook pages, GMB pages, etc.)
Step 2: Navigate Through the Social Planner Dashboard
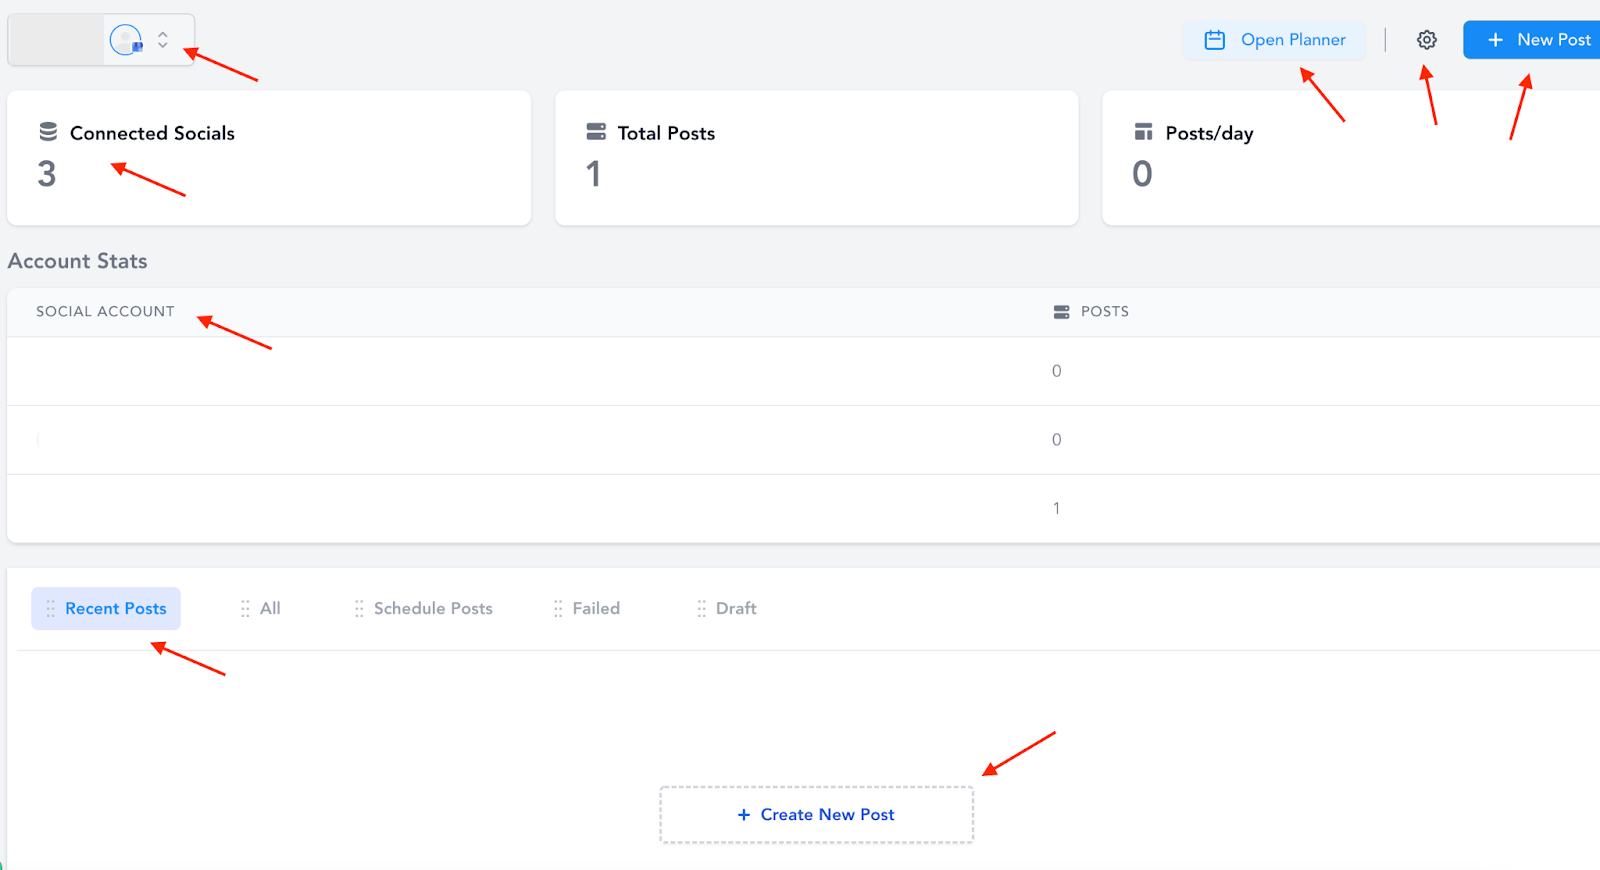
- In the top left corner, you can search through your existing, connected accounts or add a new account.
- In the top right corner, you can click “Open Planner” to view a calendar display of your scheduled posts.
- The gear icon in the top right corner will direct you to the “Manage Social Accounts” page where you can add or remove accounts. Click the + icon button (like the example shown below).

- Using the trashcan icon you can remove an account.

- Stats like “Connected Socials”, “Total Posts”, and “Posts Per Day” are available to give you a glimpse of your posting content.
- “Account Stats” gives you a posting number breakdown per social account.
- Under “Recent Posts” you can sort through all, scheduled, failed, or drafted.
- You can click “+ Create New Post” to add a new post.
Step 3: Compose a Post
- Click “Create New Post” or “New Post” to add a post.

- In the new window, choose which account you would like to post to.
- Type out and customize the content.
- Preview it on the right hand side of the screen.
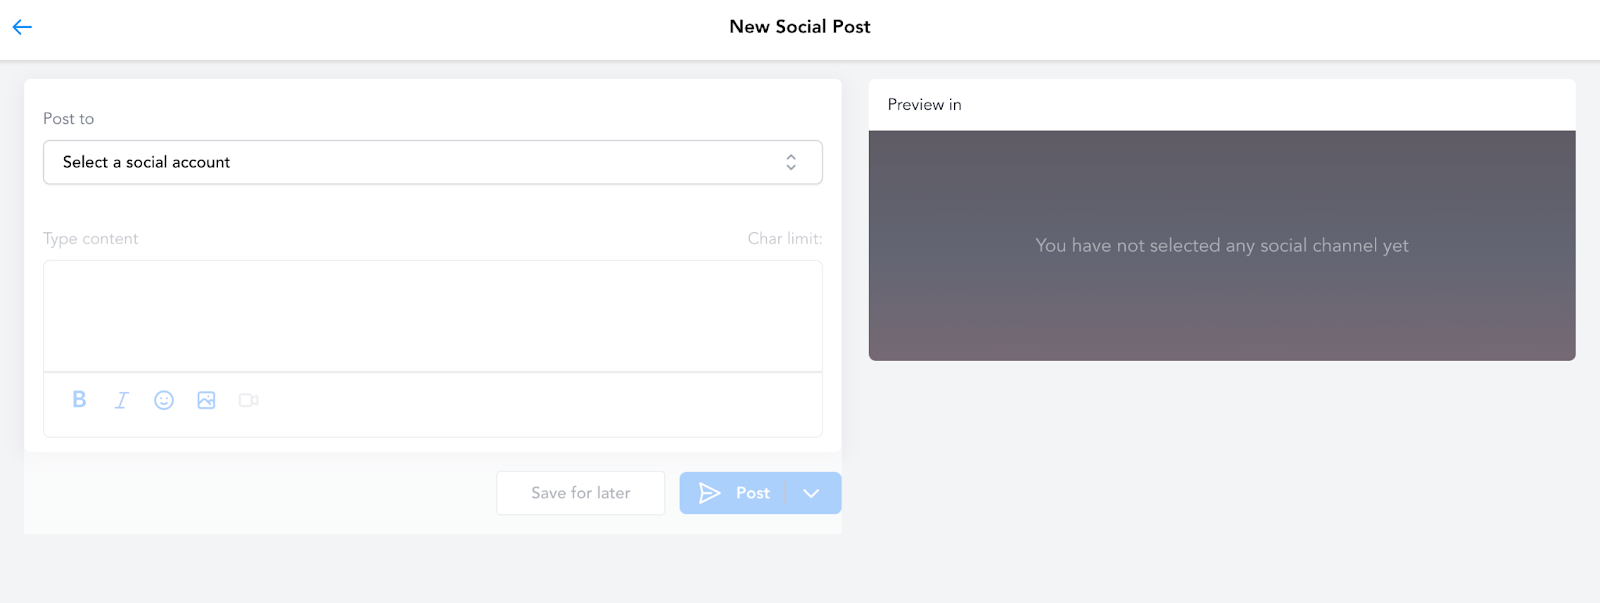
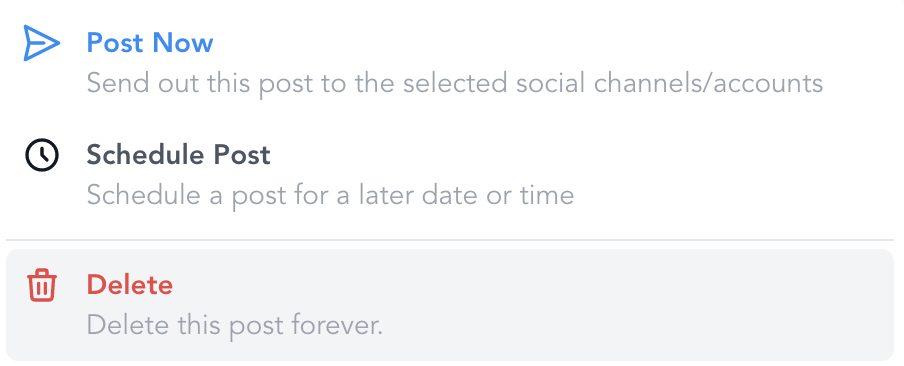
- You can either “post” to share now, or “save for later” to schedule for a later time.
- Manage your scheduled posts from the Social Planner dashboard in the list found at the bottom of the page, or in the Planner calendar.
Keep learning