Master Your GoHighLevel Contacts: Add, Search, and Filter Records
Updated November 18, 2022
Keeping contact records organised and searchable is one of the most critical foundations of running an effective agency inside GoHighLevel. This guide walks you through accessing the Contacts section, searching and filtering with precision, and using bulk actions to add, export, and import your contacts efficiently.
Here’s an overview of the Contacts section of your system. We’ll show you how to add, export, search, and filter through your contact records to stay organized.
Step 1: Access your Contacts section.
- Navigate to Contacts.
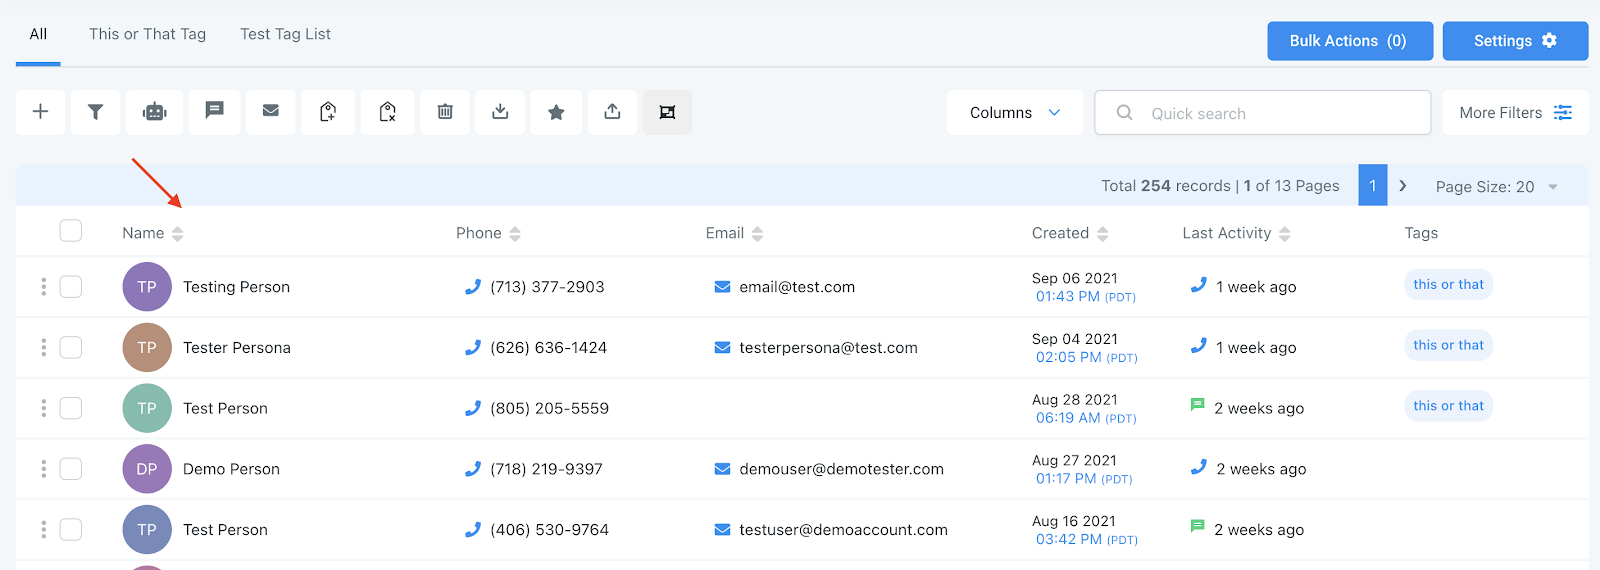
- The main page displays a list of all your contacts and basic information like name, phone number, email, when they were created, last activity, and tags.
- By dropping down the columns menu at the top, you can update which columns are displayed.
Step 2: How to Search and Filter through your contacts.
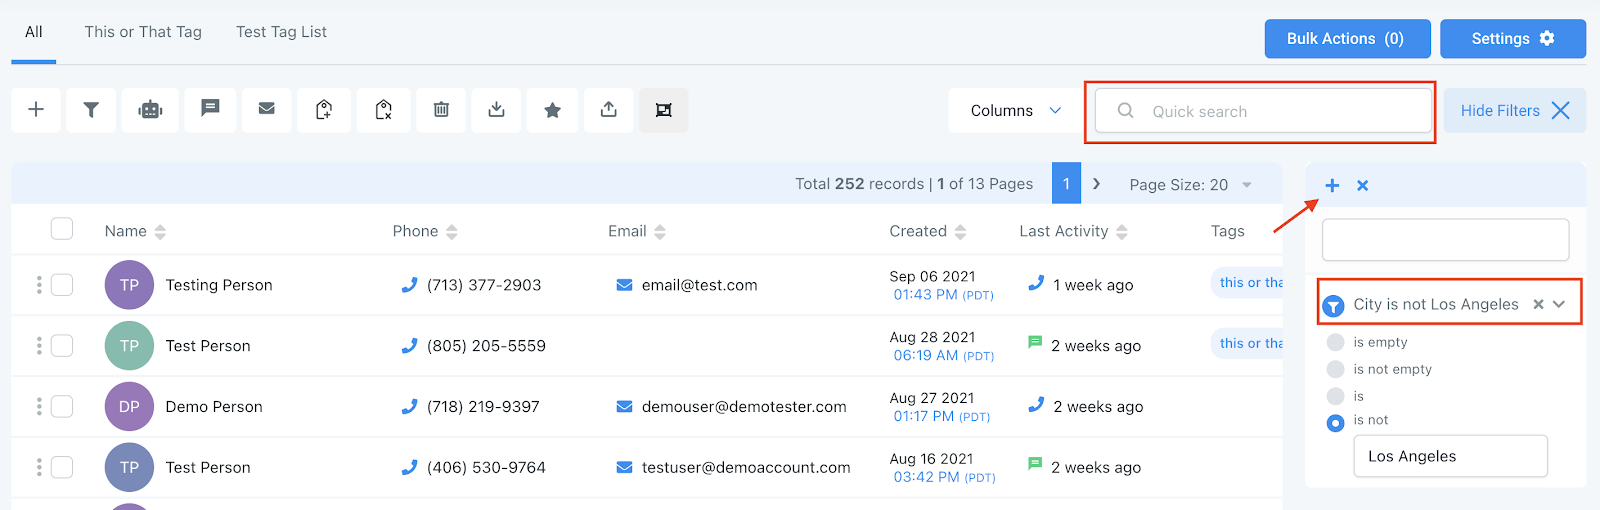
- You can also use the Quick Search feature to do a quick search by name, email, business name, tag, or phone number.
- Under More Filters you can Filter through contacts using a variety of specific options including Tag is ___, City is Not ___, Phone Number Field is Empty, and more…
- NOTE: Check out our Smartlist video/article to learn more in depth about how to use and save these filters. You can use multiple at once to filter out Contacts very specifically.
Step 3: Additional Actions
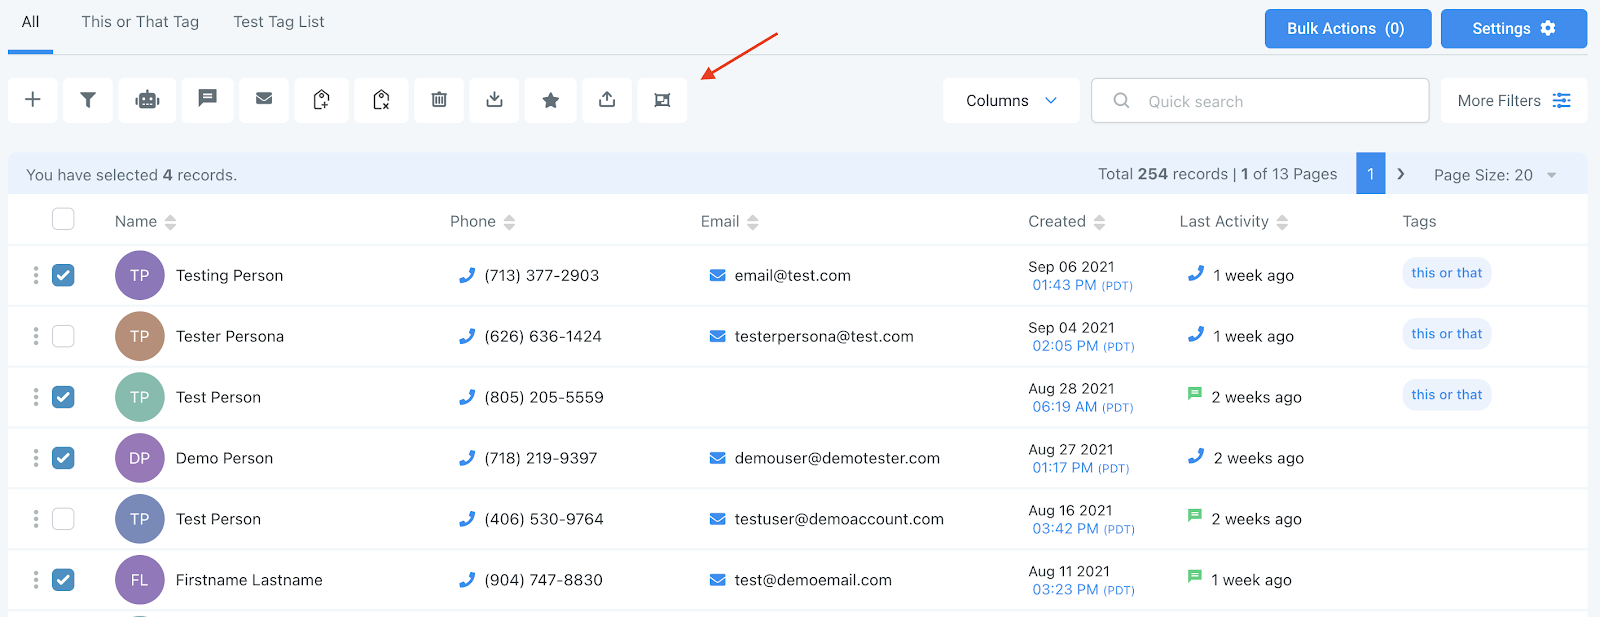
- Using these Actions icons at the top, you have several options for adding or removing contacts, and applying bulk actions. Our Bulk Actions tutorial gives a full overview of each of these actions. The most foundational are:
- Add contact: manually add an individual contact record
- Export Contacts: select a list of contacts to export to your computer (the file will download as a .csv Excel file)
- Import Contacts: Add a list of contacts into your system, using a .csv file
Keep learning