Full Funnel Builder in GoHighLevel: What You Need to Know
Updated June 2, 2023
Building a complete funnel in GoHighLevel involves multiple connected steps — from form creation and domain setup to funnel step configuration — and missing any one of them can break your entire flow. This guide walks you through the full funnel builder process in GoHighLevel, so you can launch a properly structured, conversion-ready funnel from scratch.
Creating a Landing Page
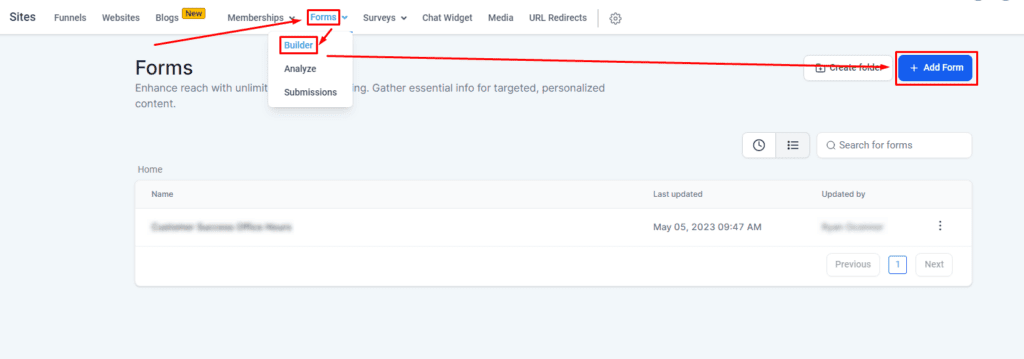
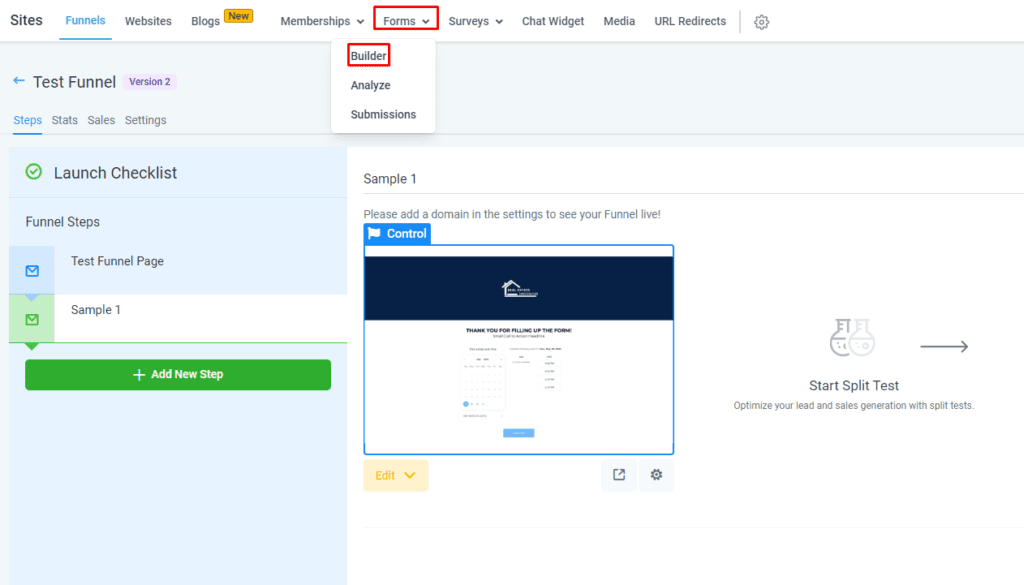
To begin, navigate to Sites, then Forms, and select Builder. Click on the + Add Form button.
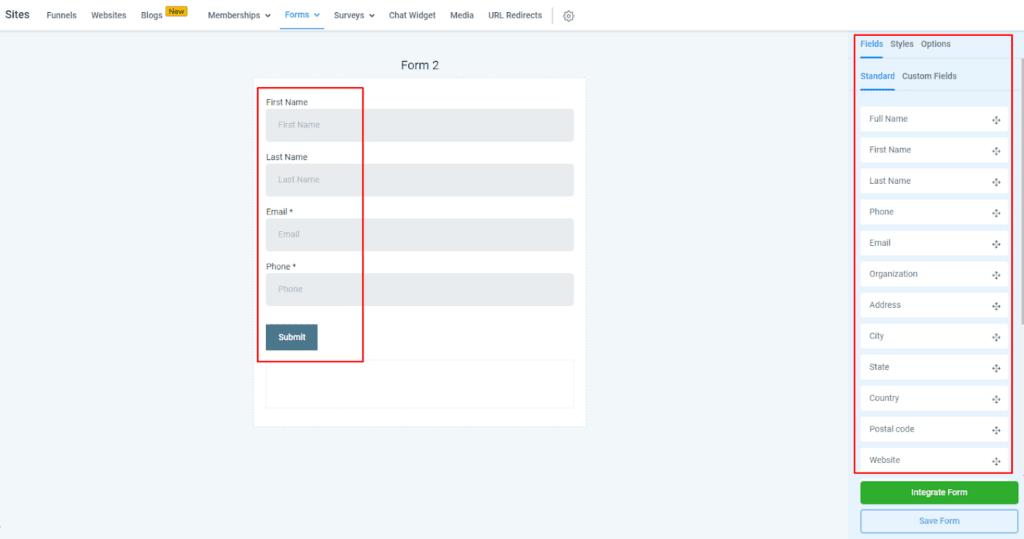
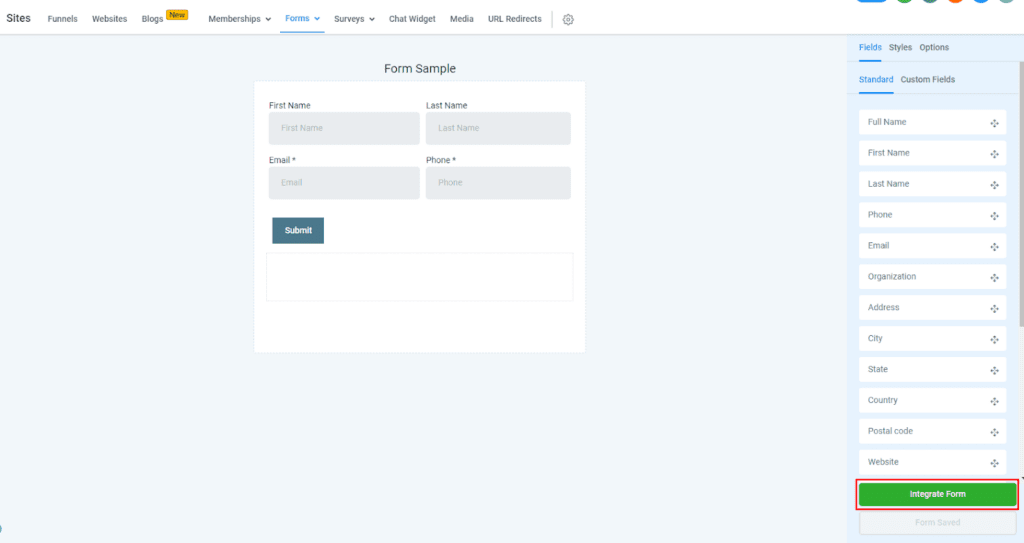
Simply drag and drop all of these fields from the right-hand Field Section to add them.
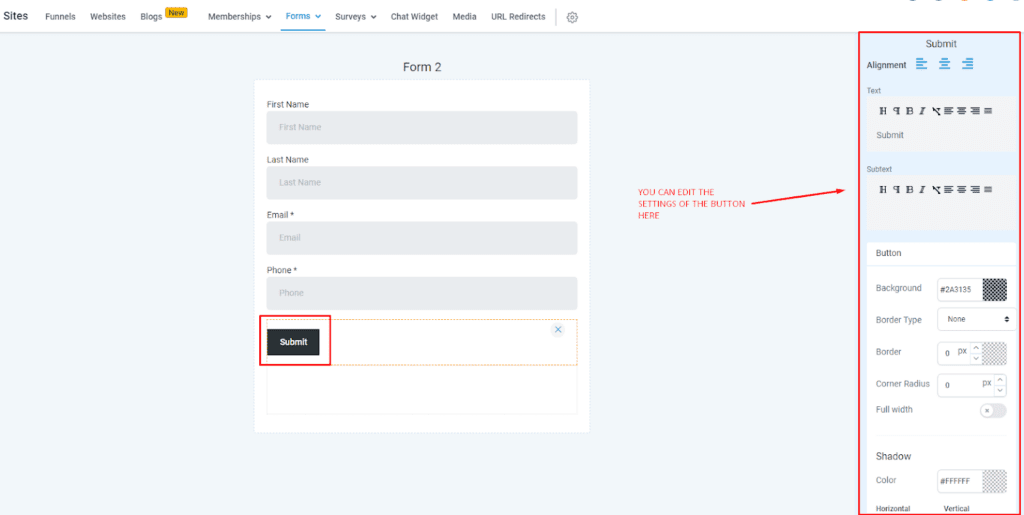
You have the option to customize the appearance of any field, such as a button. By clicking on the field, you can edit its appearance, including its color, text, and other visual attributes.
You can access the Style settings here to modify the appearance of your form. For instance, you can use the Inline Forms option to align horizontally.
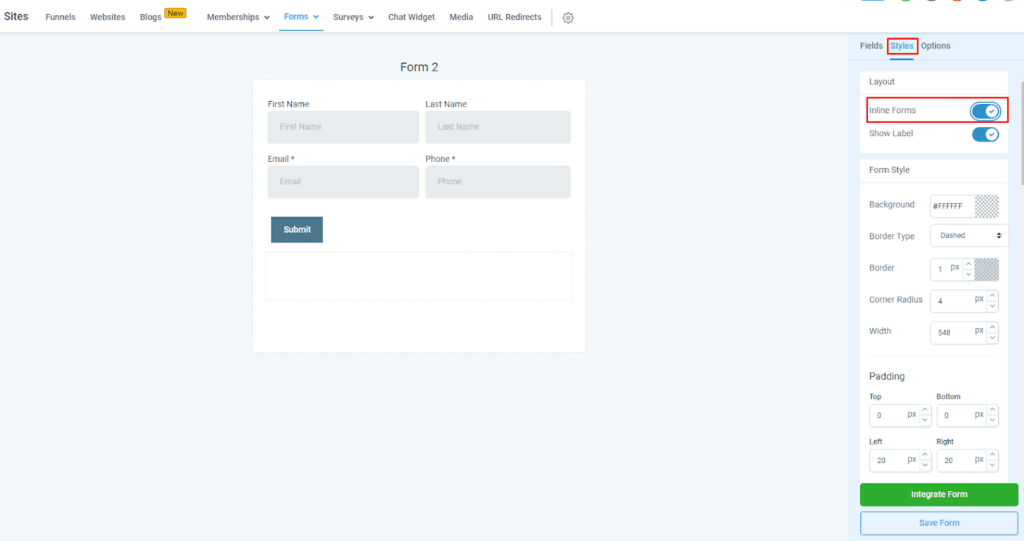
Furthermore, by scrolling down, you can access many options to customize further and edit your form. A custom CSS dashboard is also available for those who wish to apply their custom styling.

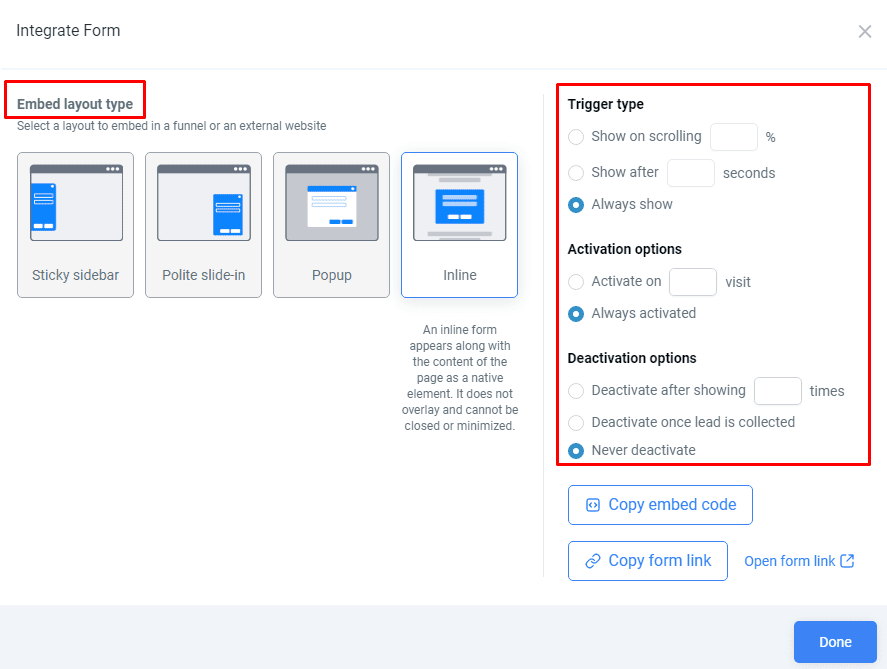
Once you have created the basic template, click “Integrate Form.” From there, you can choose the desired type of Embed Layout and customize the settings according to your preferences. This includes selecting the Trigger type, Activation options, Deactivation options, and more. Once you have made the necessary adjustments, click Done to complete the process.
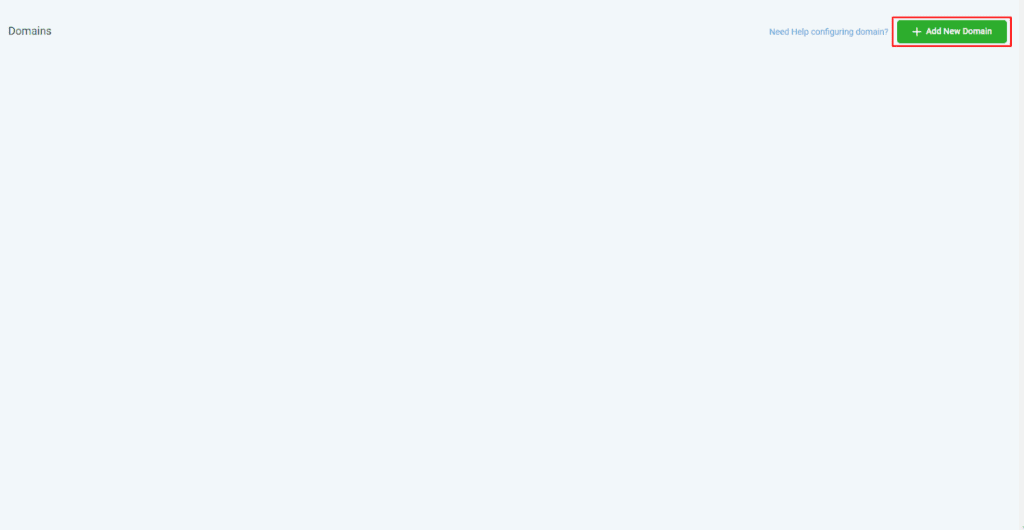
To add a new domain and set up subdomains for page placement, navigate back to Settings, then Domains. Click on the + Add a new Domain button. This will allow you to add a domain and configure the necessary subdomains for your pages.
Enter the desired domain where you want to place your form and click on the Add button to add it.
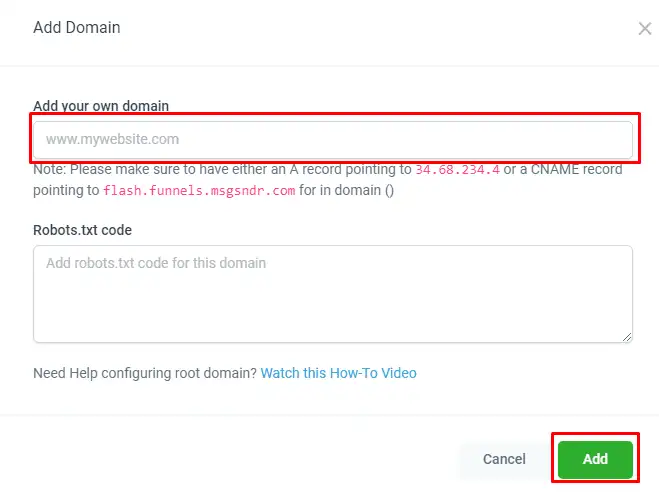
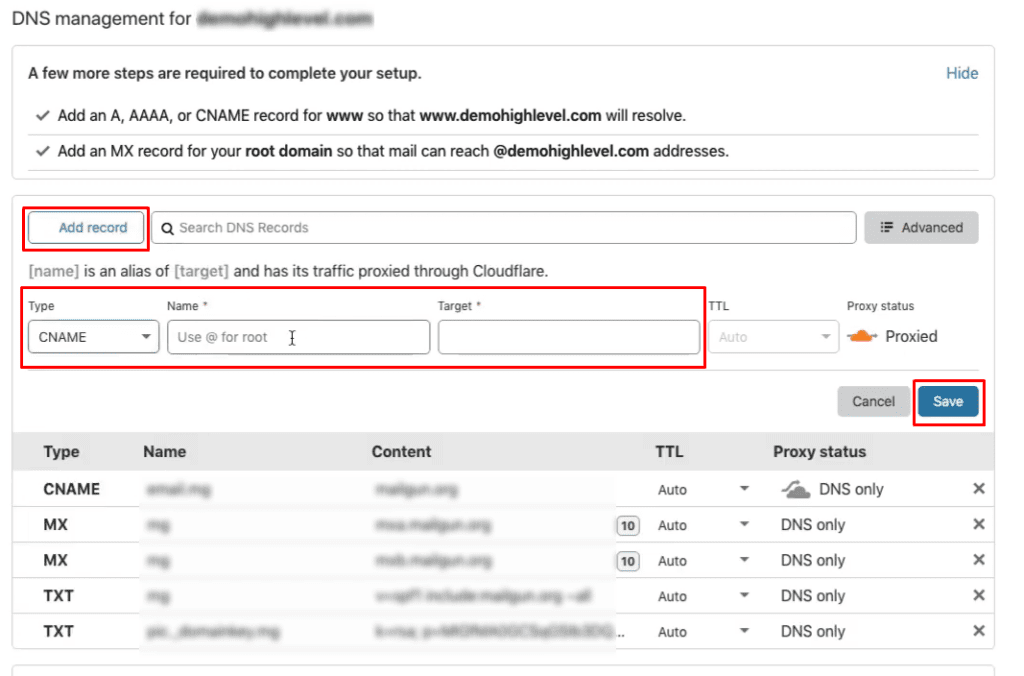
Note: Setting up the domain requires a CNAME record. To do this, access the DNS management of your domain, such as in Cloudflare.
Follow these steps to add a CNAME record:
- Add a record and select the CNAME type.
- Fill in the Name field with the domain you have created.
- Enter the Funnel’s URL as the Target.
Use the domain you created as the Name and the Funnel’s URL as the Target.
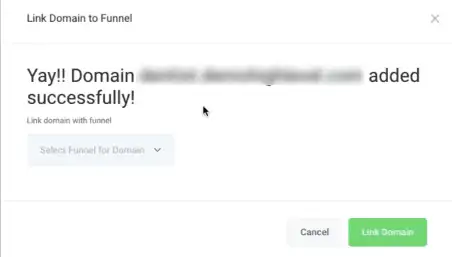
After clicking Add, you should receive a confirmation message indicating the successful addition of the domain.
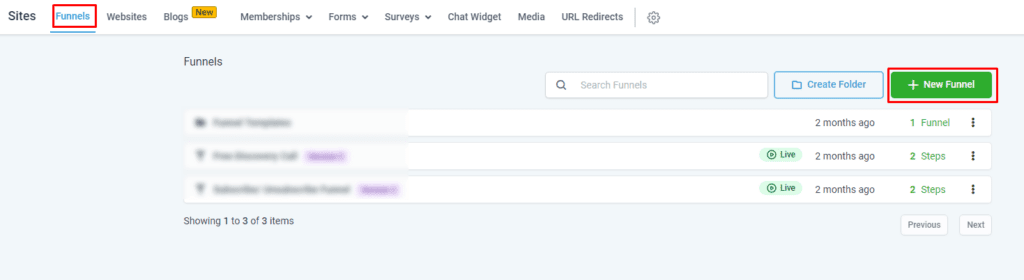
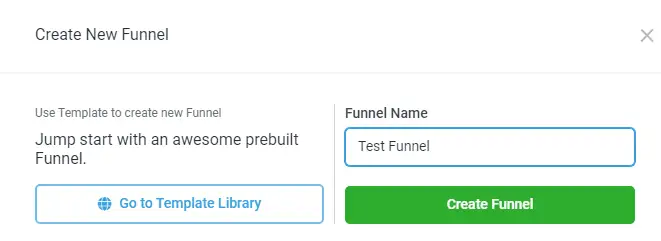
To create a new funnel, navigate to Sites, then Funnels, and click + New Funnel. Enter the desired name for the funnel and click on Create Funnel to proceed.
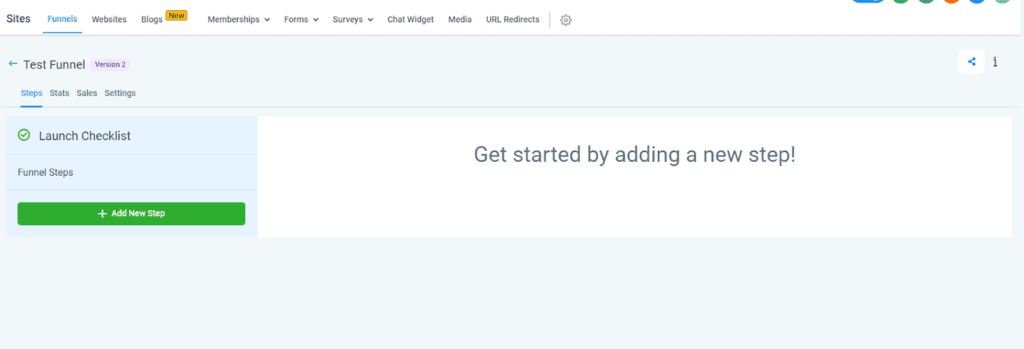
Upon creating the funnel, you will be presented with an overview of the funnel’s details and settings.
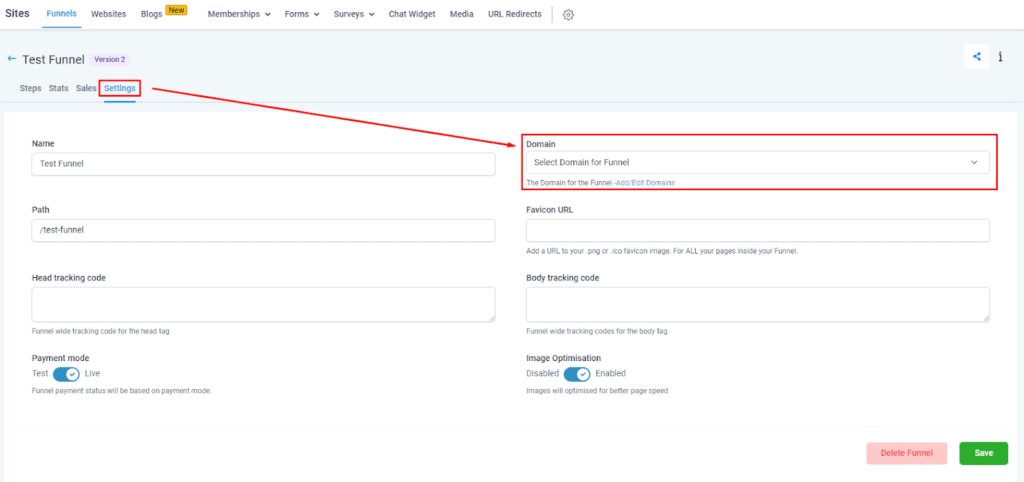
Navigate to Settings, then Domain, and select your recently created domain.
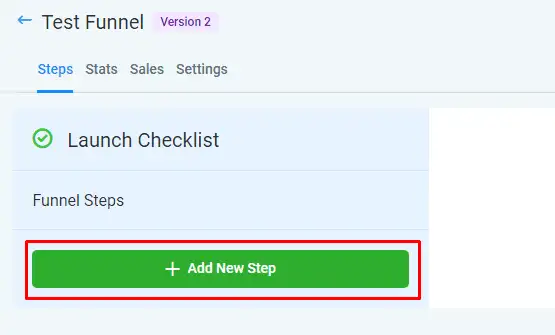
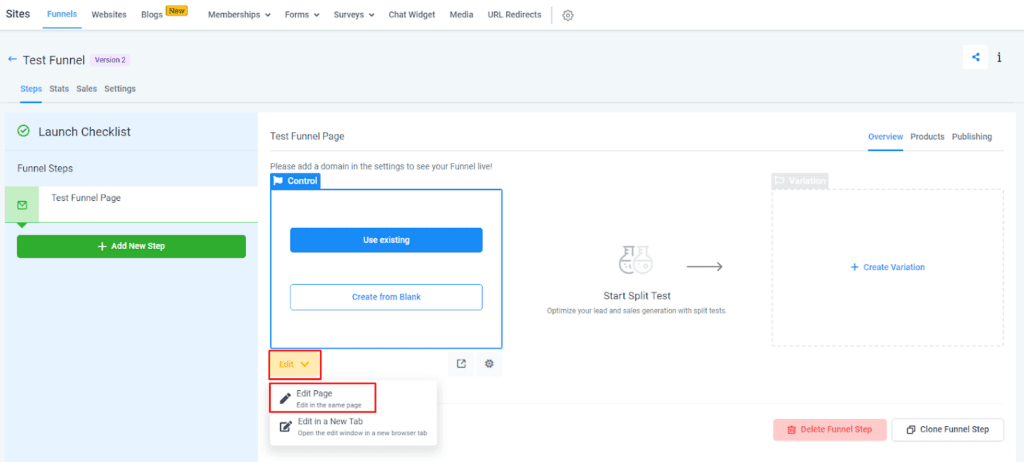
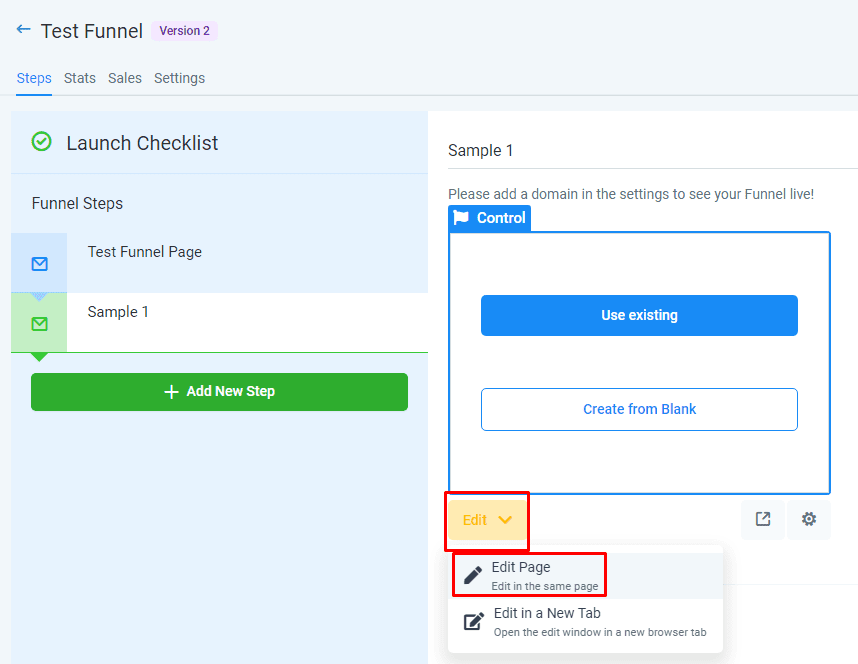
Next, click + Add New Step to add a new step to your funnel. Fill in the required information and click Create Funnel Step. Afterward, click Edit to modify the step and access the Edit Page option for further customization.
Upon entering the Edit Page option, you will encounter the Drag and Drop Builder, which may appear familiar if you have used other landing page builders. The interface offers intuitive drag-and-drop functionality for easy customization and design.
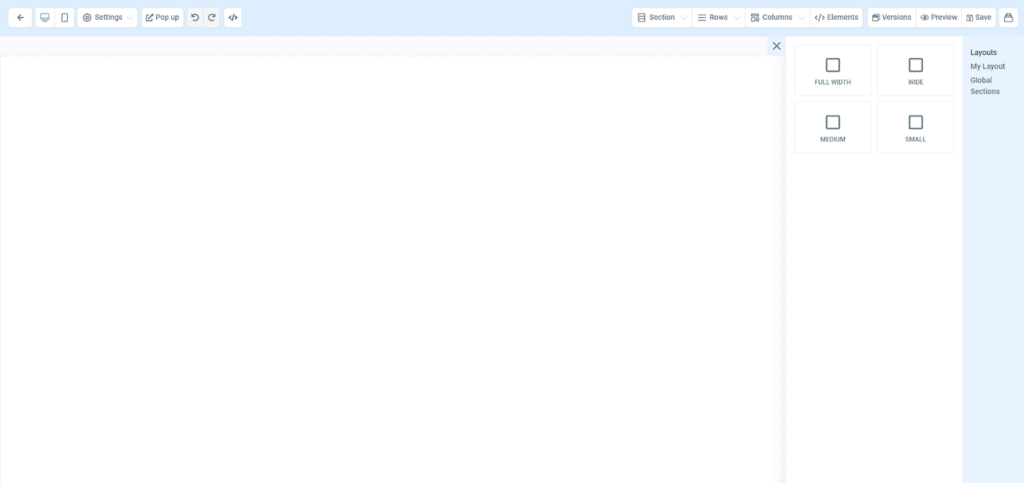
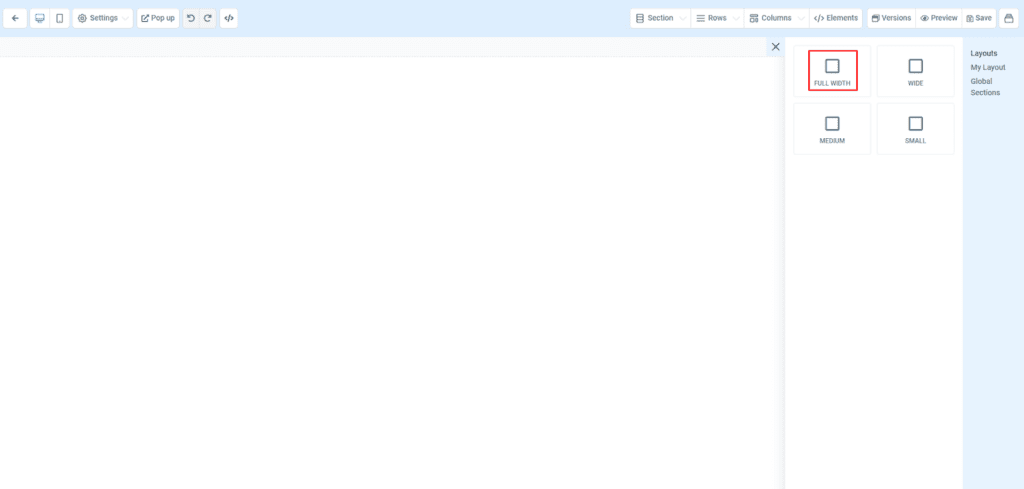
Select the Full-Width option and drag it to the middle.
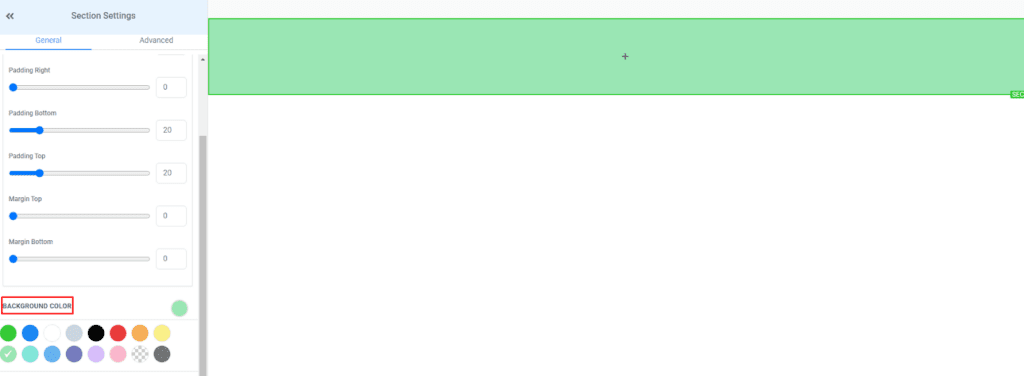
You can customize the settings in both the General and Advanced sections.
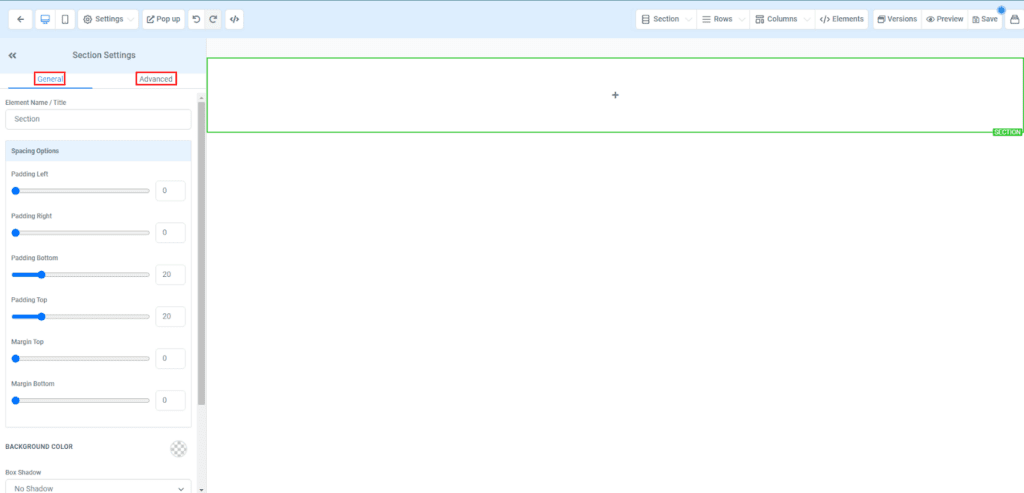
You can modify the Background Color in this section.
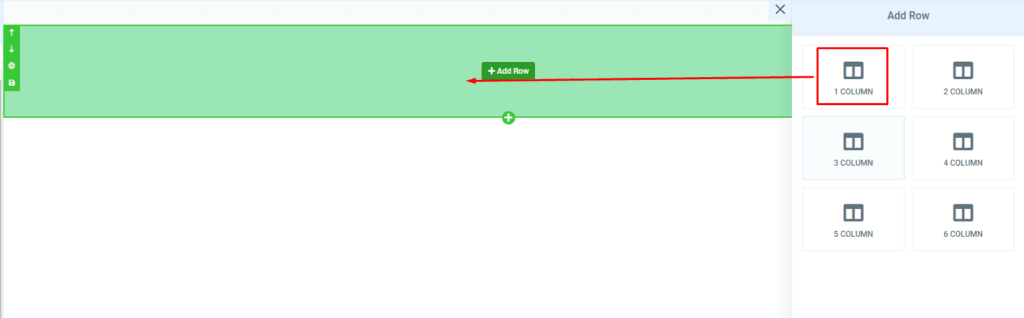
To add a row, click Add Row and select Add 1 Column. Afterward, you can drag the column to the desired location on the page.
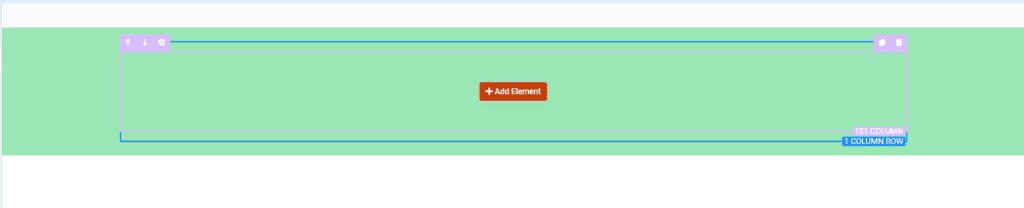
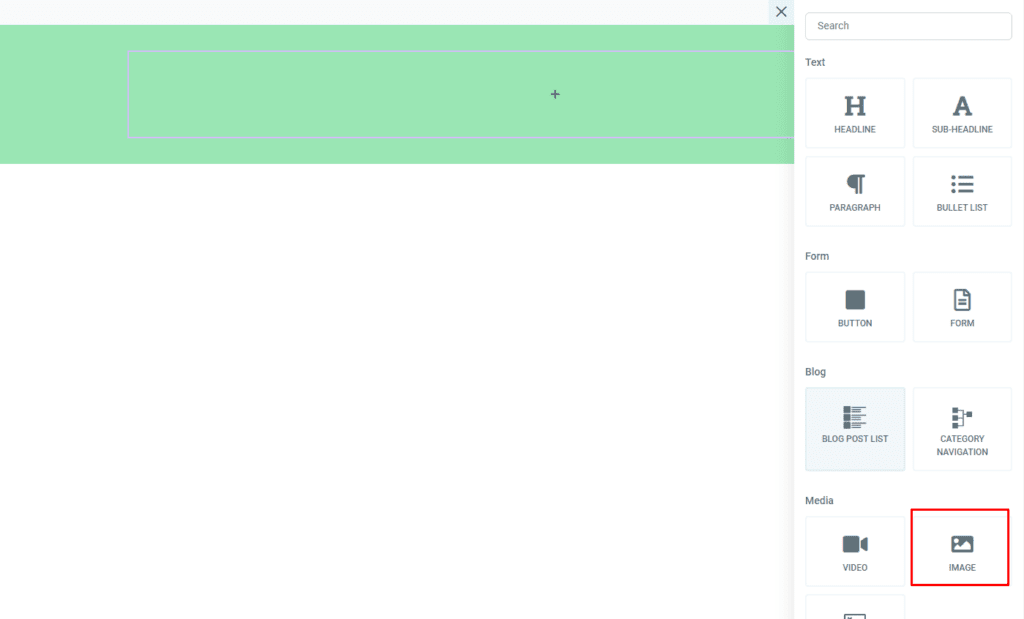
Once you reach this stage, you will notice an Add Element button. Click on it and select the Image option located on the right-hand side.
To modify the image, navigate to the General settings and scroll until you find the Image Options section. From there, you can make the desired changes to the image.
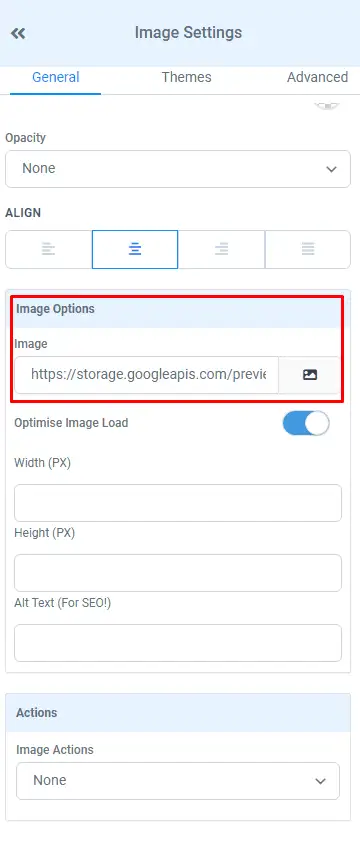
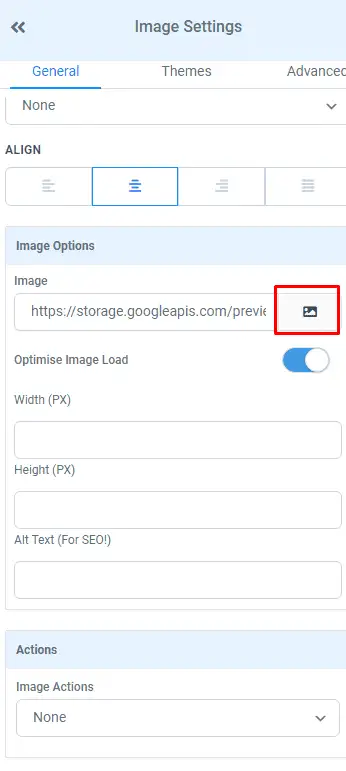
Click on the Image button, then select Upload File. Choose the file you wish to upload from your device.

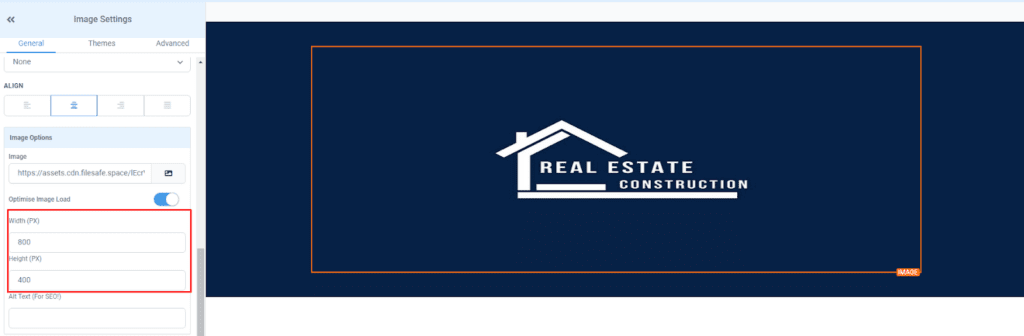
In the Image Options section, you can adjust the Width and Height of the image according to your preferences.
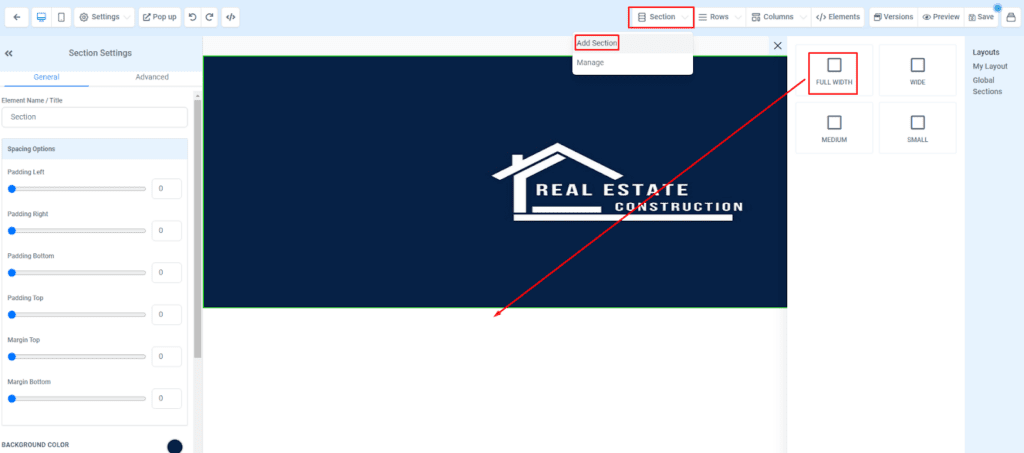
Click on Section, then select Add Section. Choose the Full-Width option to add a full-width section to your page.
To add a 50/50 column layout, click + Add Row and select the 2 Columns option. This will create two columns of equal width on your page.
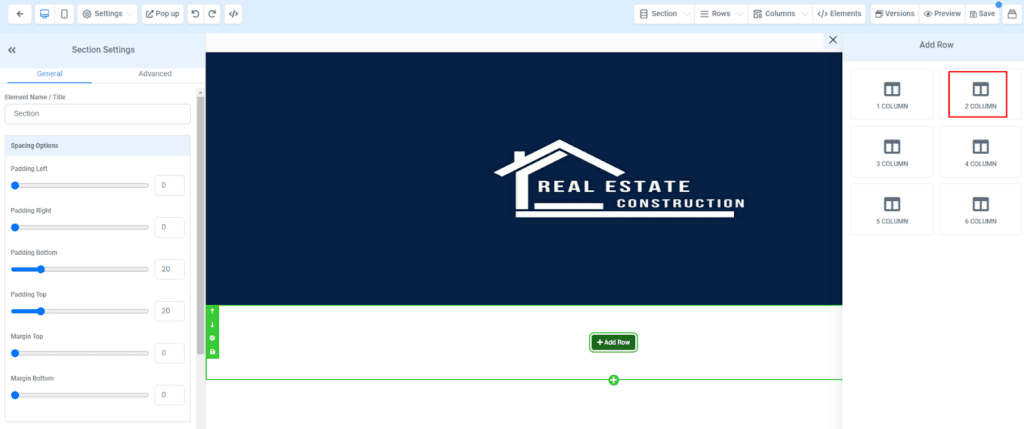
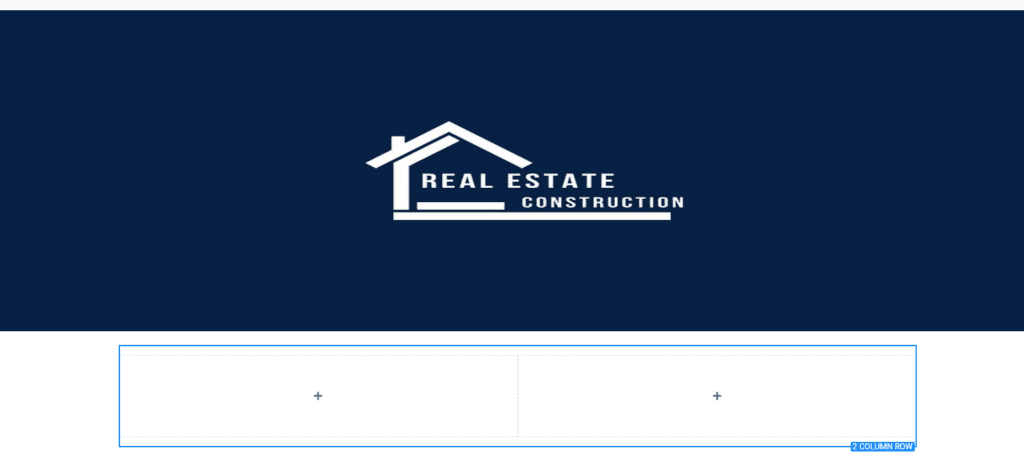
Customize and design the column to your desired specifications by changing its settings and visual elements.

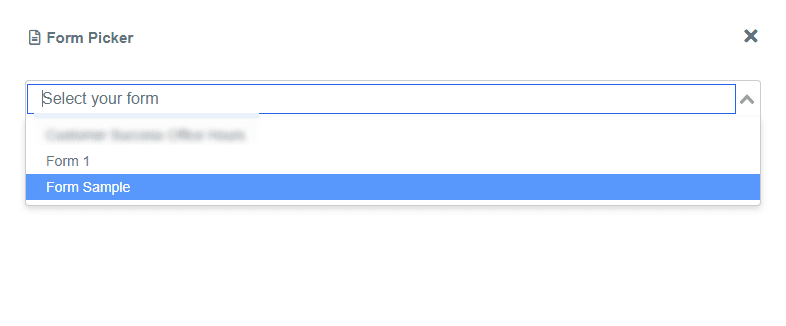
Next, let’s add the form we created earlier. To do this, click Elements, then select Add Element. Choose Form and drag it below the desired header on your page. Select the form you created from the options available.
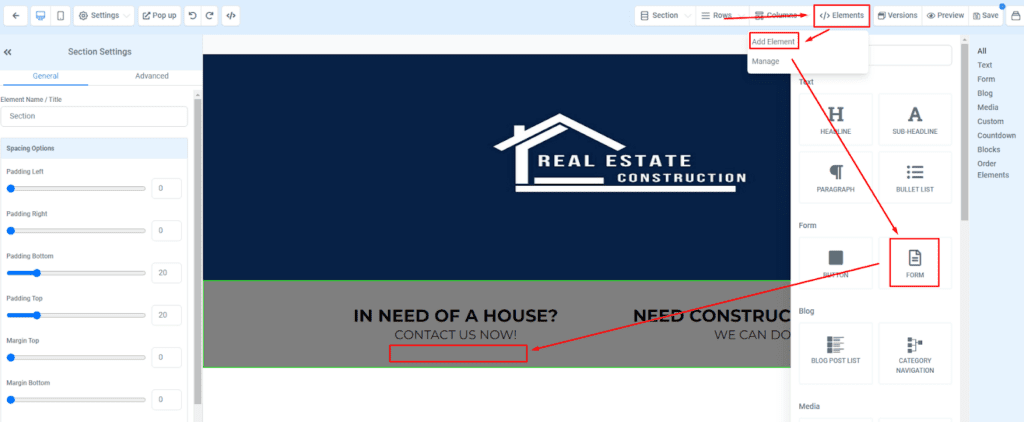
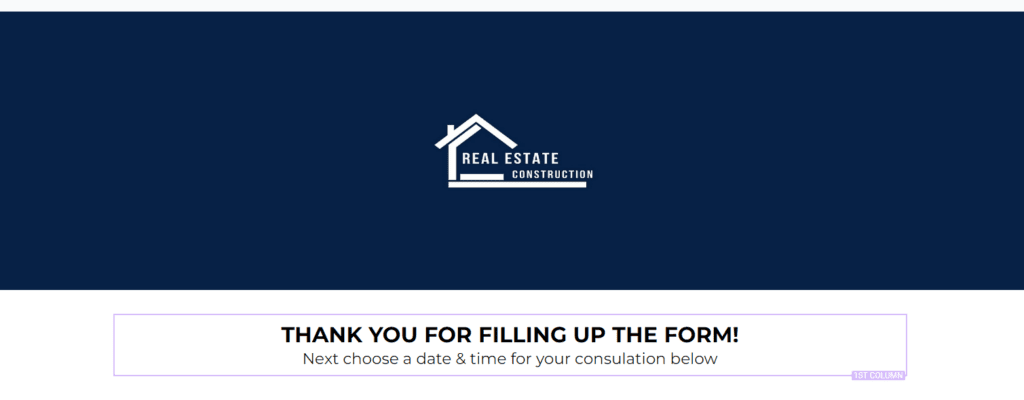
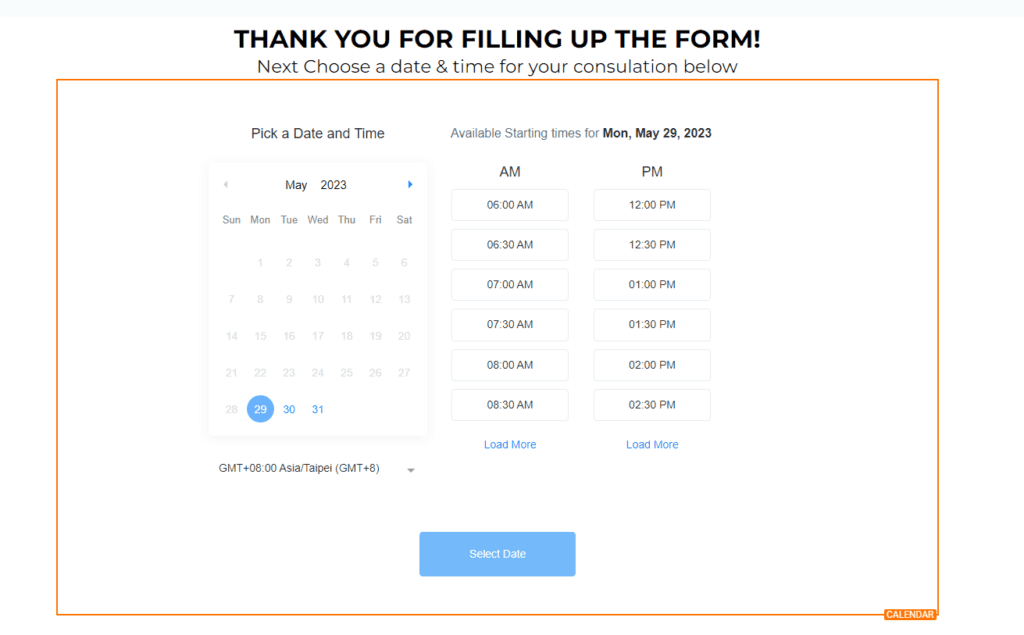
After adding the form below the desired header, your page will have a layout similar to the example.
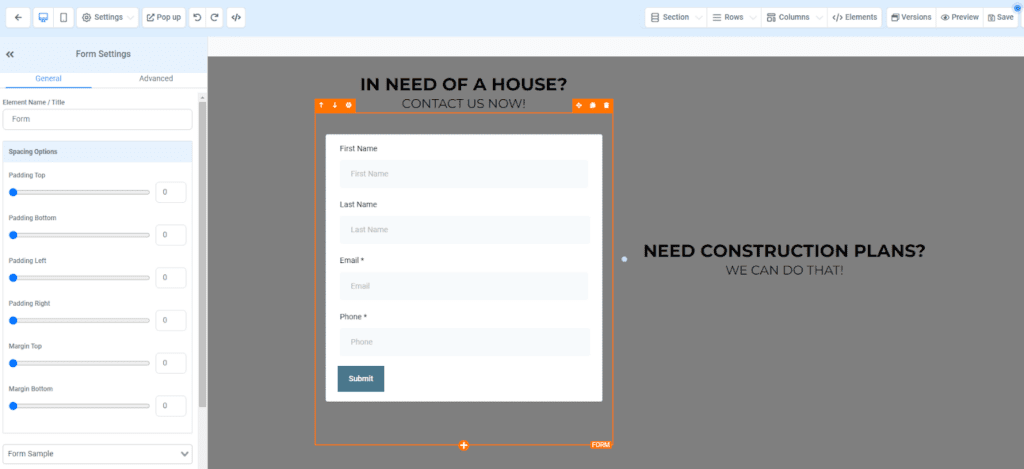
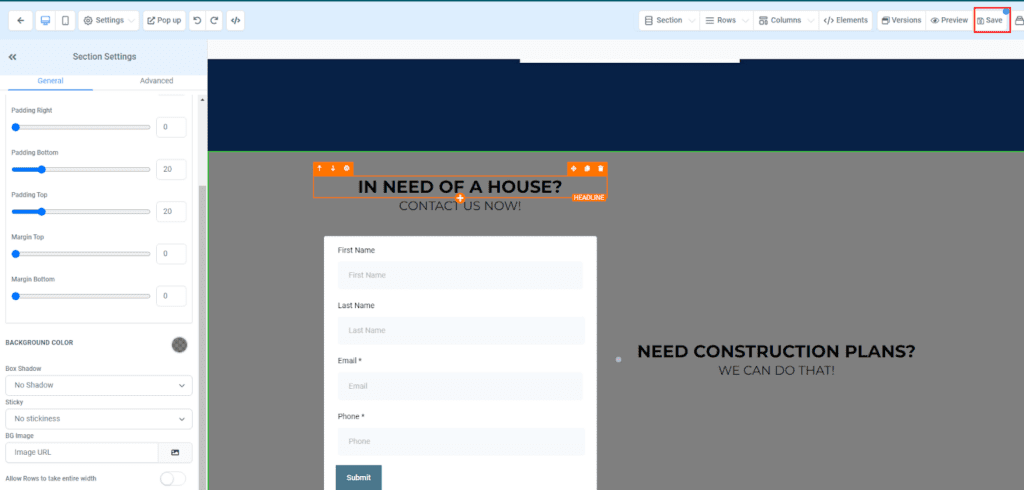
Please remember to customize and modify the necessary options according to your preferences using Form Settings. Once you are satisfied with the changes, remember to save your progress.
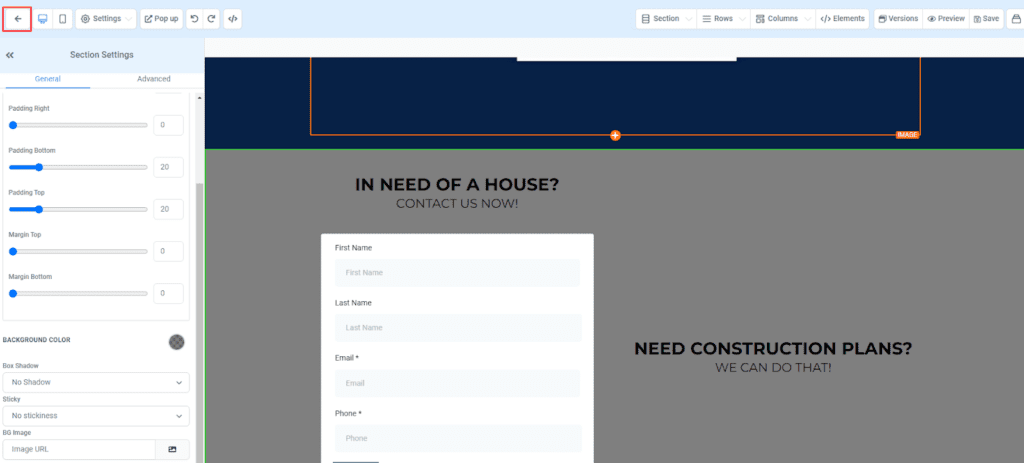
Now, navigate back to the previous page and click Add New Step to create a new step in the funnel.
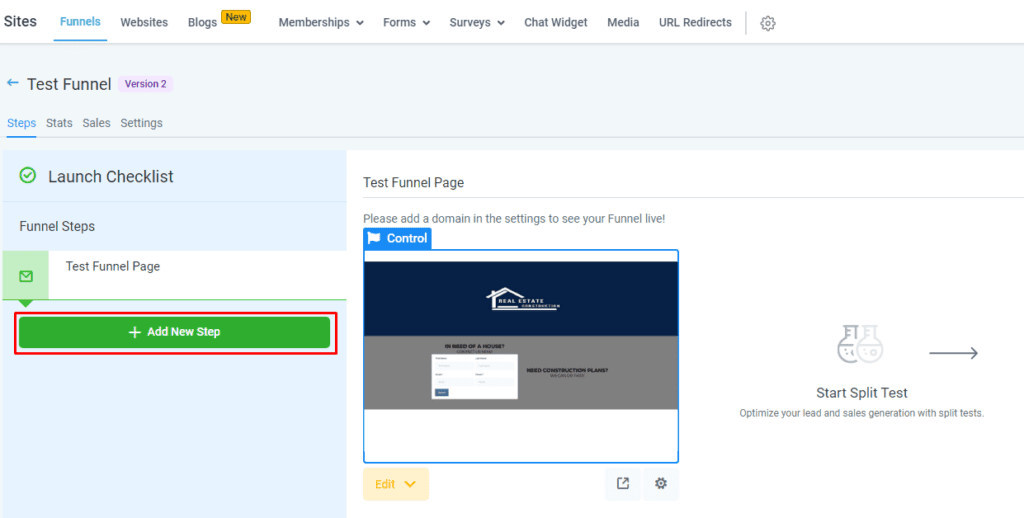
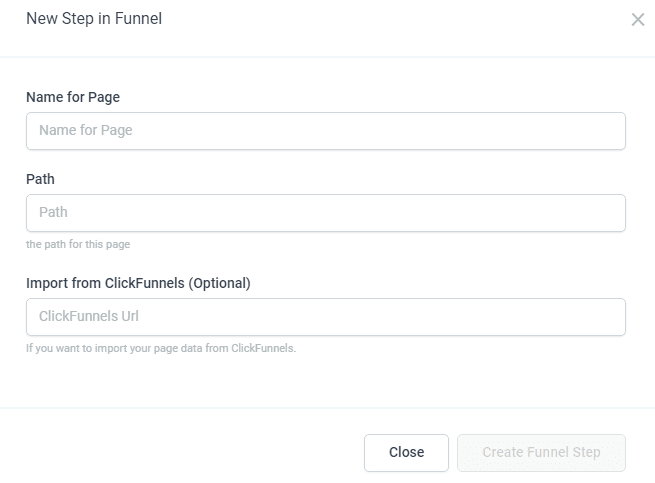
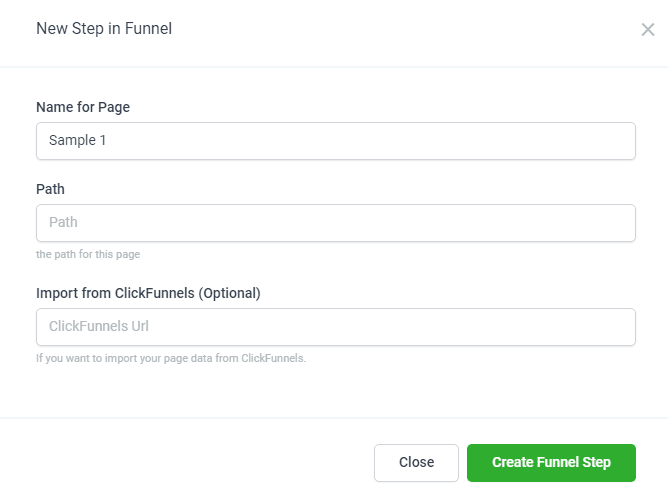
Provide the required information and fill in the necessary details for the new step in the funnel, then Create Funnel Step.
Click on Edit Page to modify and customize the page content associated with the current step in the funnel.
Following the same steps, select Full Width from the available options, then add a Single Column to the section. Next, click Add Element and choose Image to insert an image onto the page. Upload the desired image file for display. Add another Full-Width section below the previous one and create a Single Column row within it. Finally, add a Headline element to the row to provide a text-based heading.
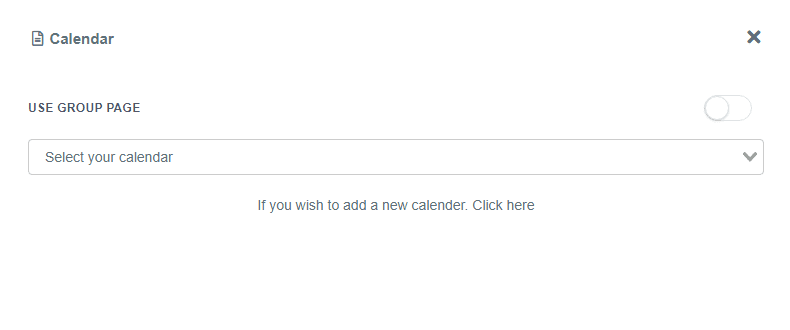
Now, let’s embed the calendar. Navigate to the Elements section and click Add an Element. Scroll down and locate the Custom category, then select Calendar from the options provided.
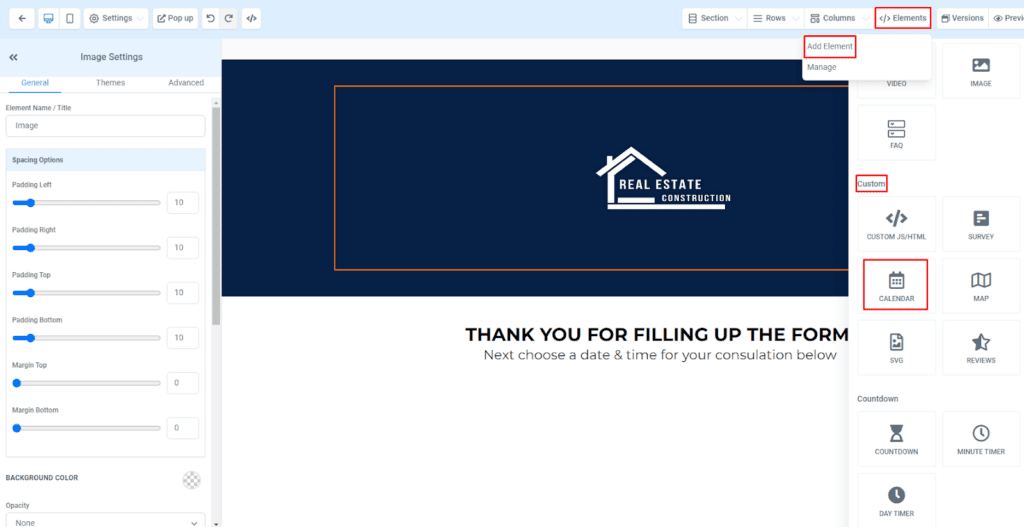
Select the specific calendar that you wish to use from the available options.
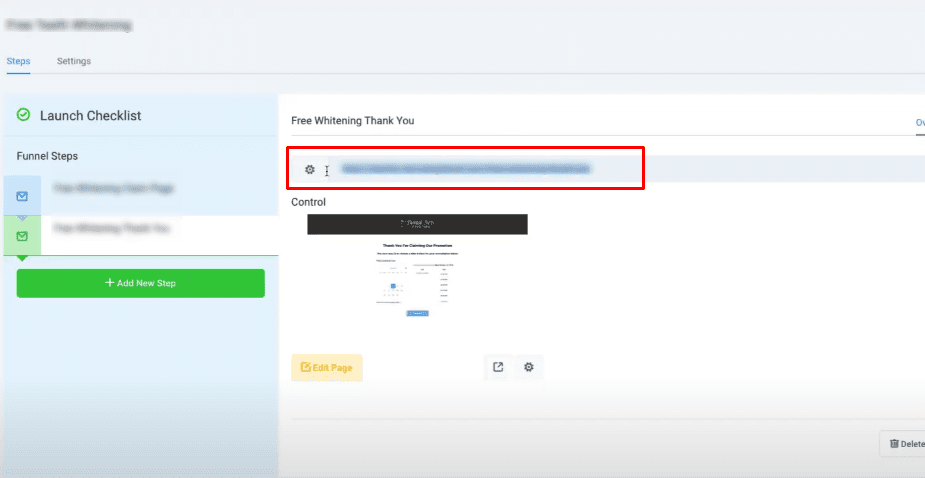
Return to the previous page and copy the URL from the designated location.
Return to the Form Builder and select the form you just created. Then, click on the Edit button.
Navigate to the Options section of the Form Builder and paste the URL you copied earlier into the appropriate field. Once you have done that, click the Integrate Form button.
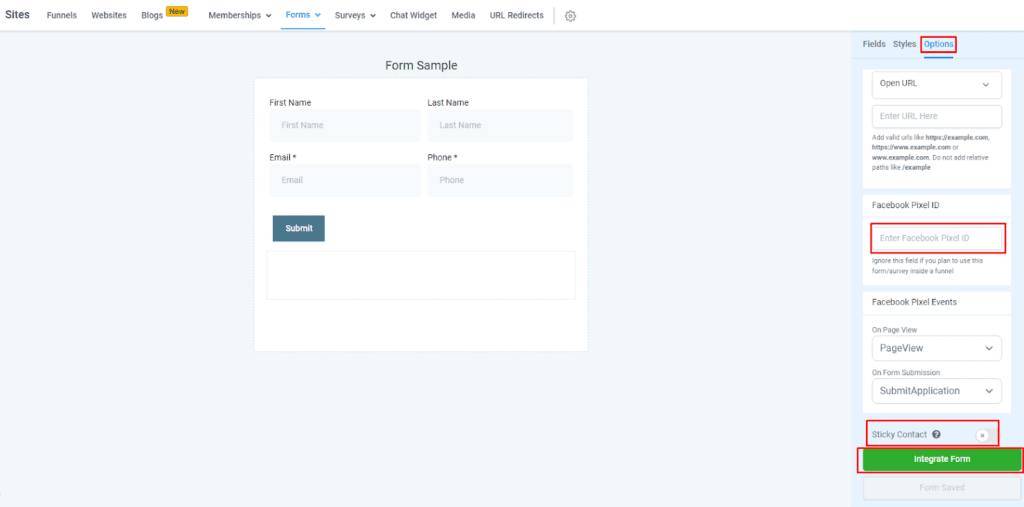
Note: You can also enable Sticky Contact.
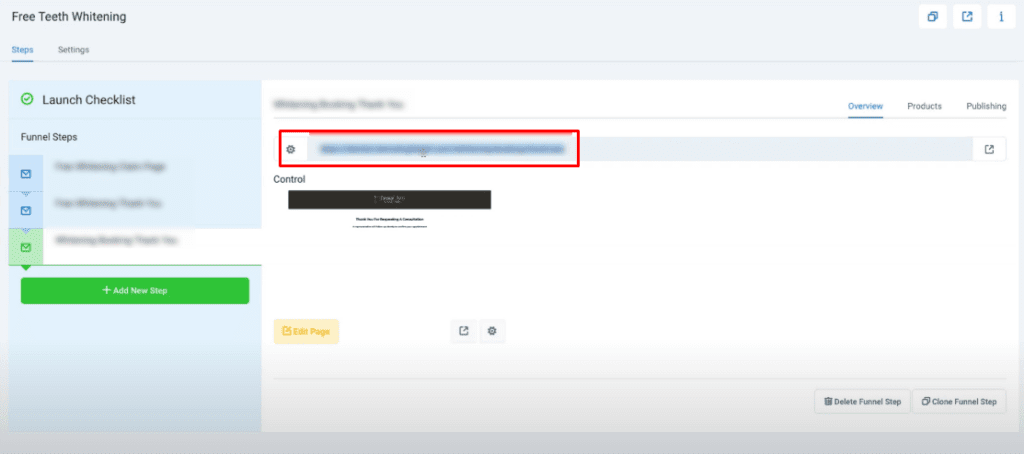
It’s time to create the final page. Navigate to the funnel you created, click + Add New Step, fill in the required information, Create Funnel Step, and then Edit the page.
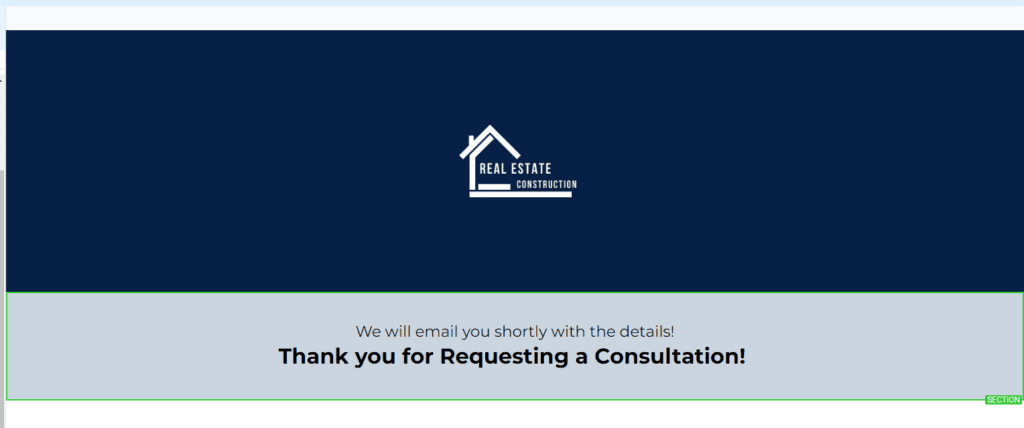
Following the same steps, select Full Width from the available options, then add a Single Column to the section. Next, click Add Element and choose Image to insert an image onto the page. Upload the desired image file for display. Add another Full-Width section below the previous one and create a Single Column row within it. Finally, add a Headline element to the row to provide a text-based heading.
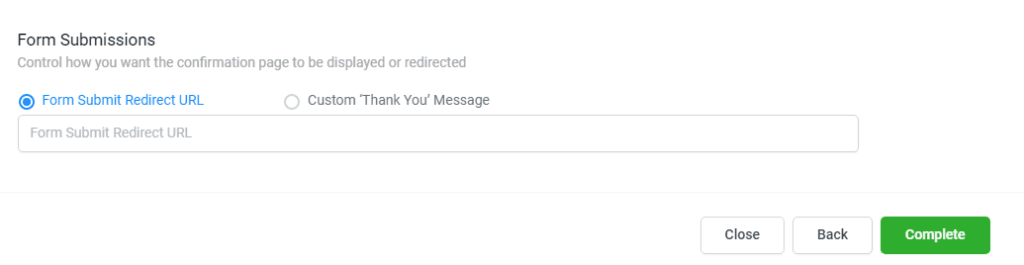
Return to the previous page and copy the URL. We will use this URL to set up the redirect from the form.
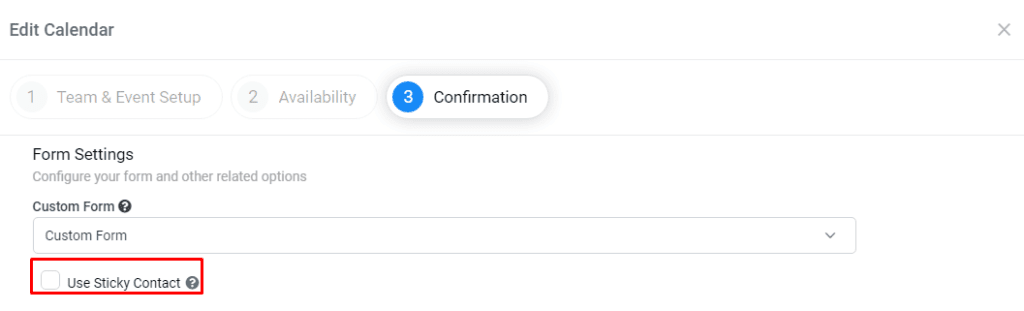
Navigate to the settings section, then select Calendars. Choose the calendar you used for the funnel, and click Edit. In the confirmation settings, scroll down to the From Submissions section and paste the URL you copied.
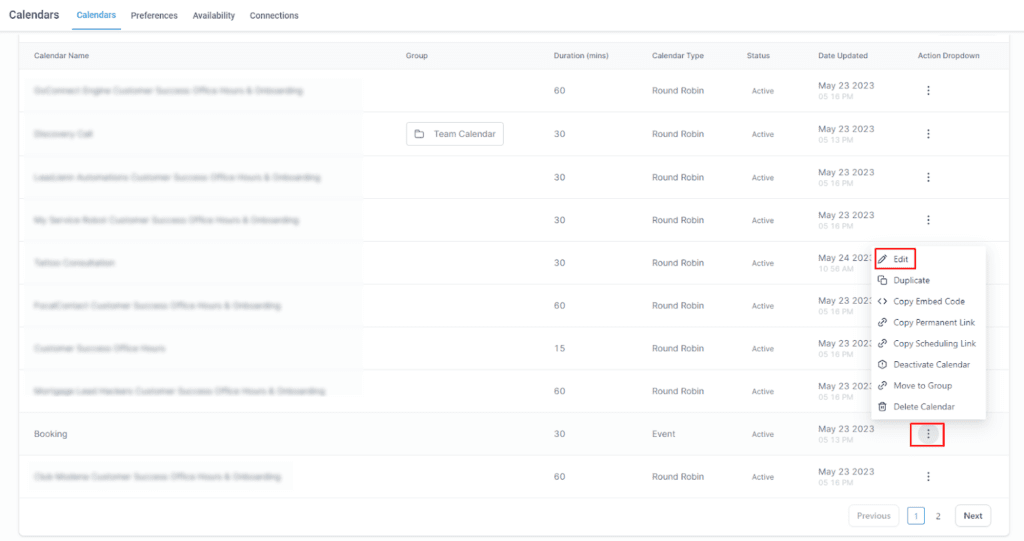
You also have the option to enable Sticky Contact.
WE ARE DONE!
Keep learning