How to Set Up www to Non-www Domain Redirects in GHL
Updated January 17, 2023
Serving your GoHighLevel website on both www and non-www URLs without a proper redirect can split your SEO authority and confuse visitors. This guide walks you through configuring your DNS in Google Domains, setting up subdomain forwarding, and testing your permanent redirect so every www request resolves cleanly to your primary domain.
This article will walk through how to redirect domains from the www. version to non-www. version. In this example, we’ll be using Google Domains, but you can follow a similar process with other DNS hosts.
NOTE: You will still need to configure BOTH the www and non www versions in your account.
Part 1: Setting Up the Domain
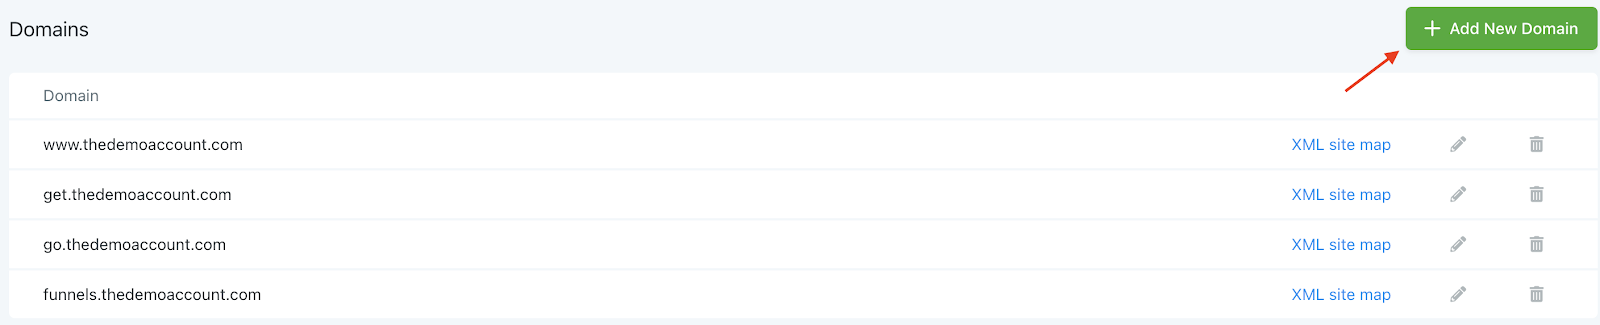
Step 1: Navigate to Domains > Add New Domain.
Step 2: Add the non-www version of the domain, such as thedemoaccount.com
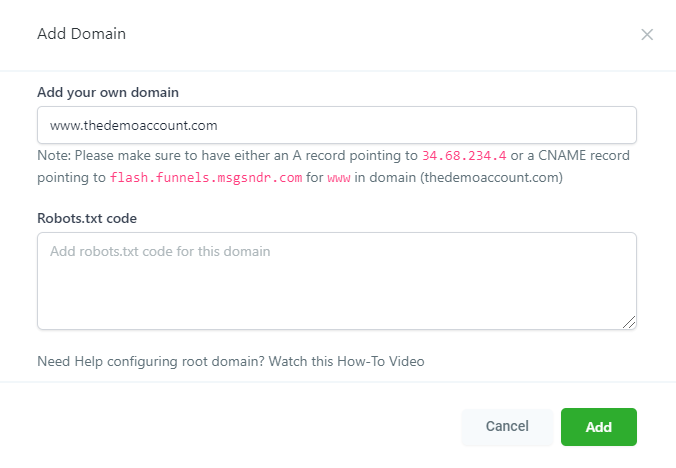
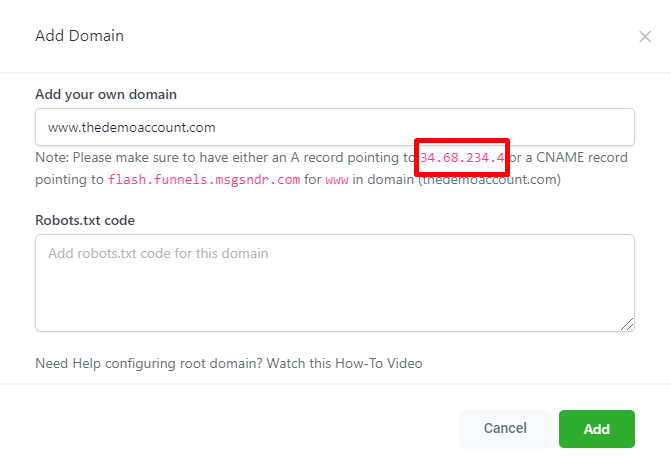
Step 3: The pop-up window in your system will tell you what IP address the A-record or CNAME record needs to point to (NOTE: don’t use both, and we recommend using the CNAME).
Step 4: In a new web browser tab, navigate to your DNS (such as Google Domains).
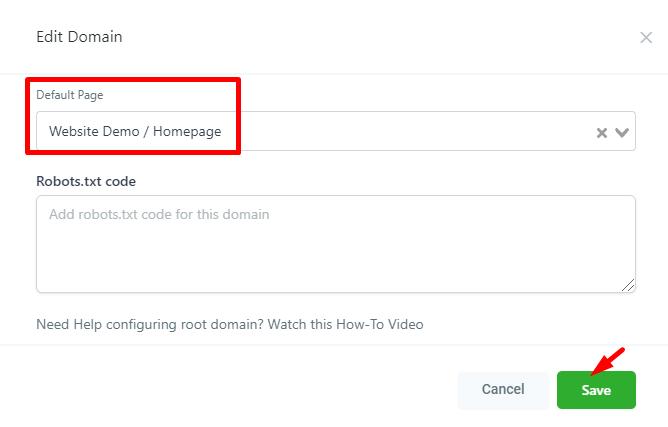
Step 5: Navigate back to the system browser, and click the pencil icon. Choose the first page of your website/funnel. Click Save.

Part 2: Setting up the Sub-domain Forwarding
Step 1: Set up the subdomain forwarding to redirect www.thedemoaccount,com to the non-www. version.
Step 2: Establish a permanent redirect and forwarding path, and enable the SSL. This will mean that any www.thedemoaccount,com/calendar or www.thedemoaccount,com/blog will also redirect to the non-www version.
Step 3: Be sure to save your changes. Click “Add” (In Google Domains) or “Save”, etc. in other platforms.
Part 3: Testing the Sub-domain Forwarding
Step 1: Open a new web browser tab, and test the www. link to ensure it redirects in the way you just setup.
Keep learning