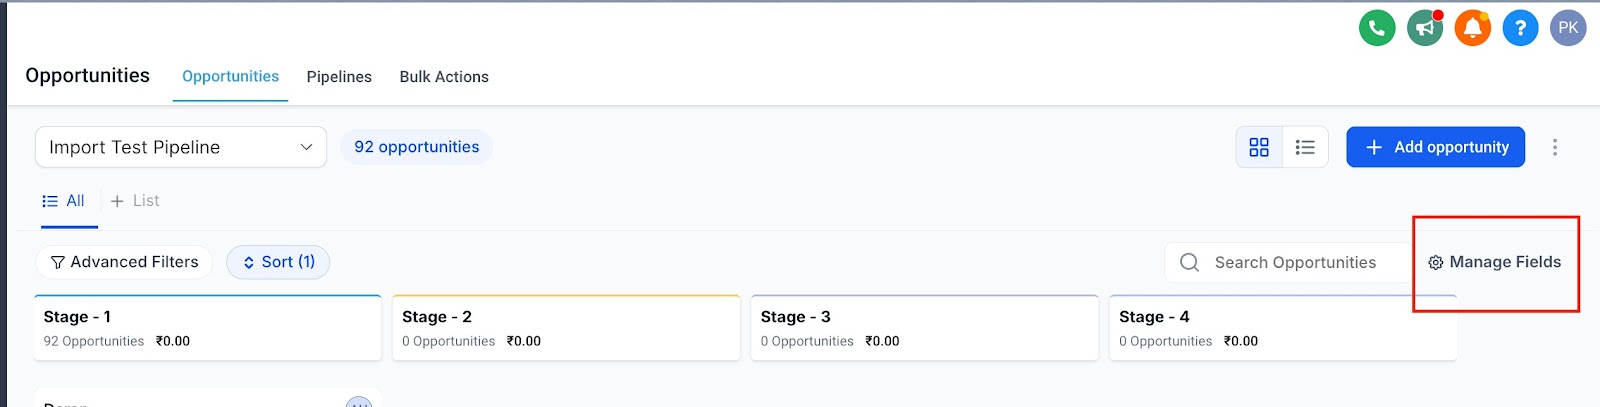
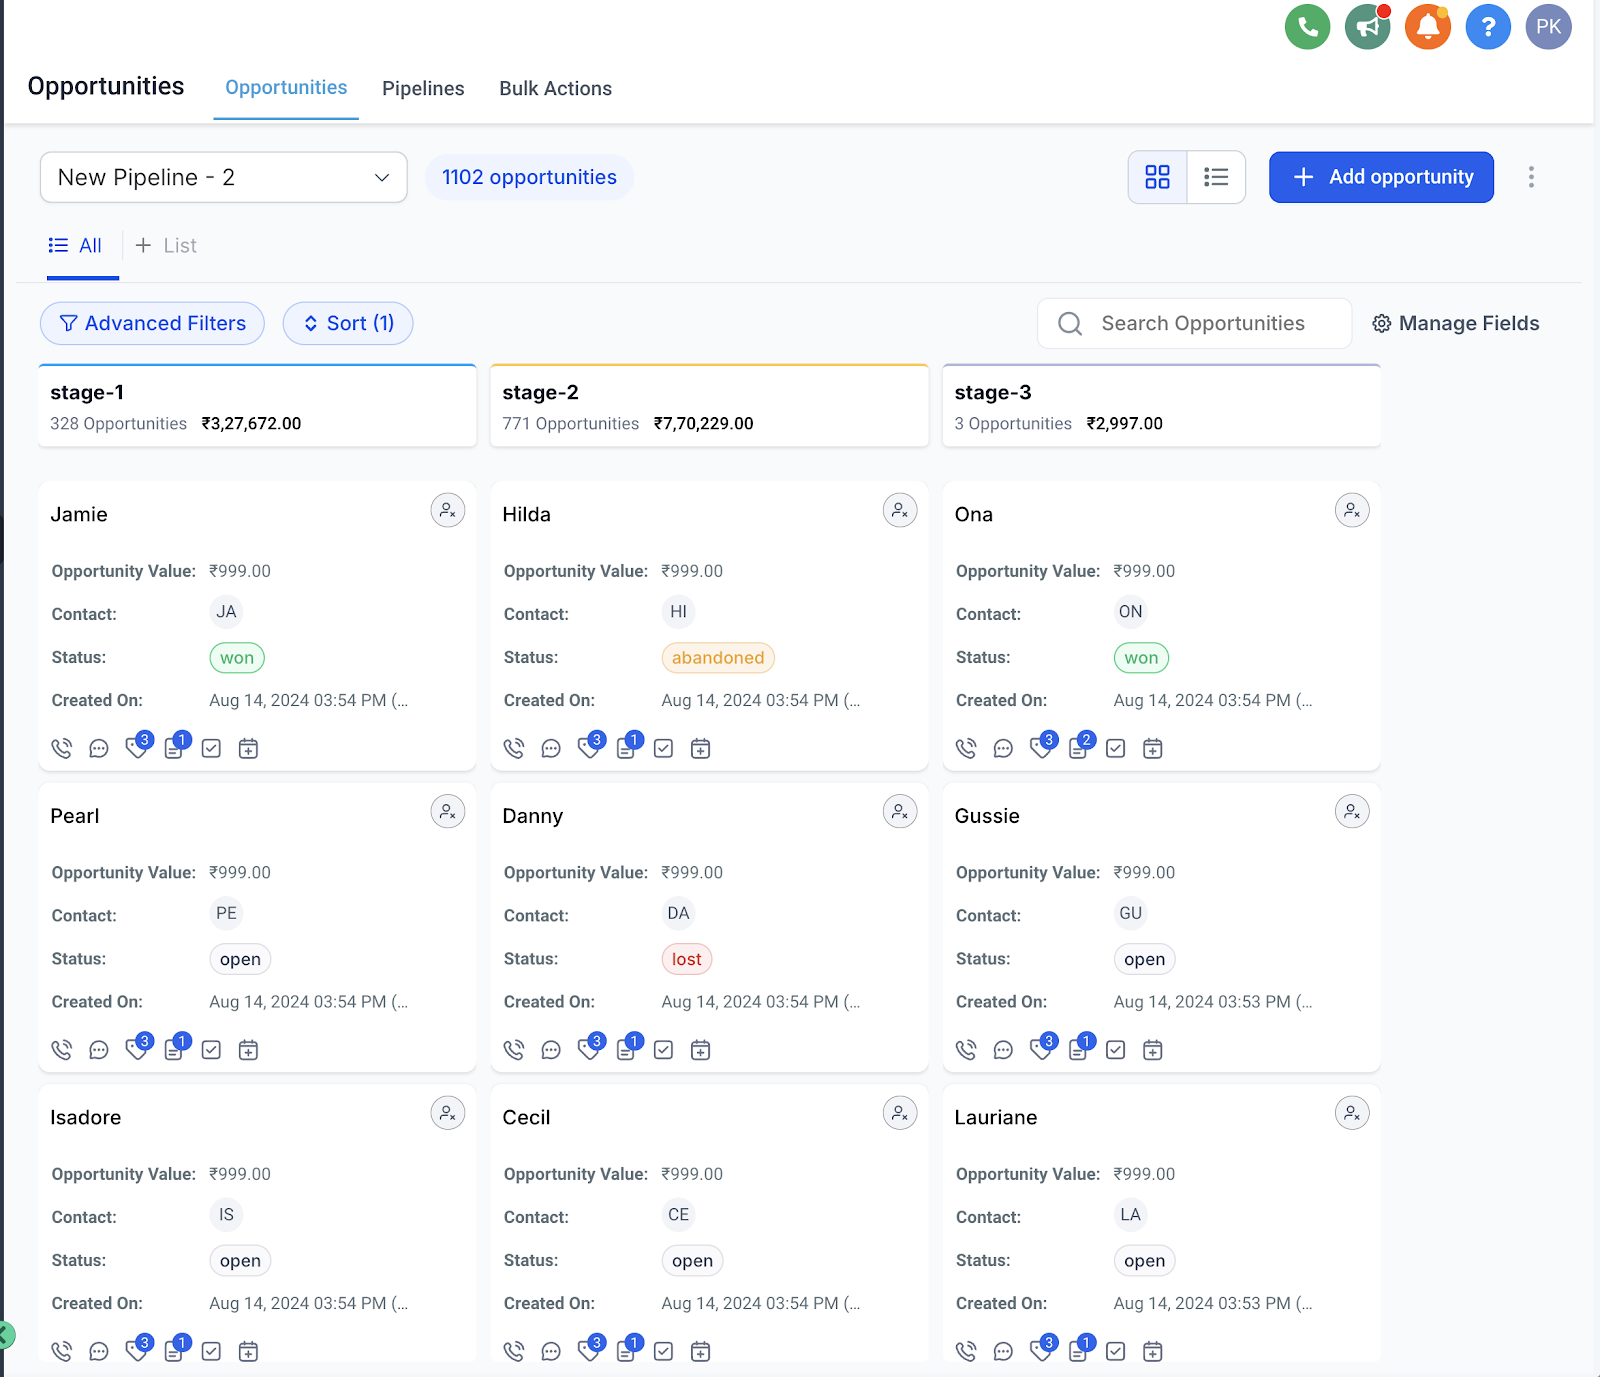
Click the Manage Fields option (found in the top-right corner of the opportunity board).
2. Selecting Fields to Display:
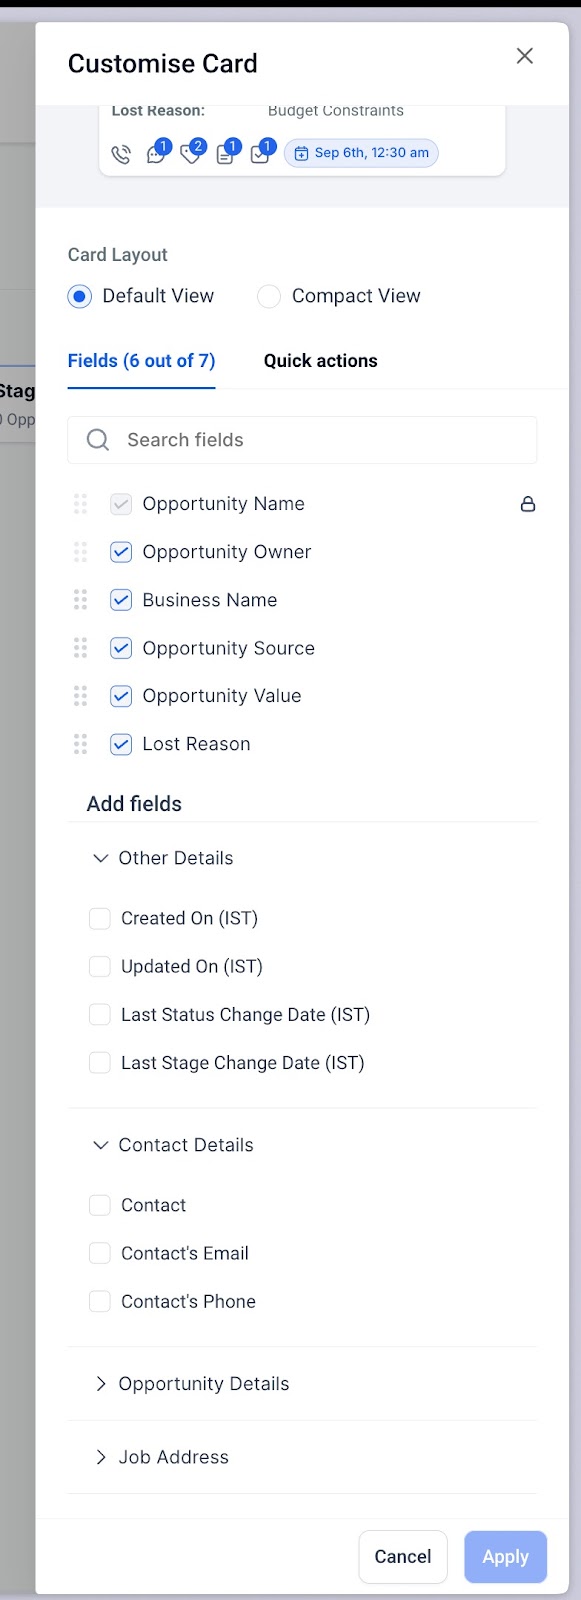
You can choose up to 7 fields to display on your Opportunity Cards. These fields include:
Standard Fields:
Opportunity Name
Opportunity Status
Lost Reason
Opportunity Value
Opportunity Owner
Opportunity Source
Custom Fields:
Any custom fields you’ve created.
Associated Fields:
Contact Name
Contact Phone Number
Contact Email Address
Contact Business Name
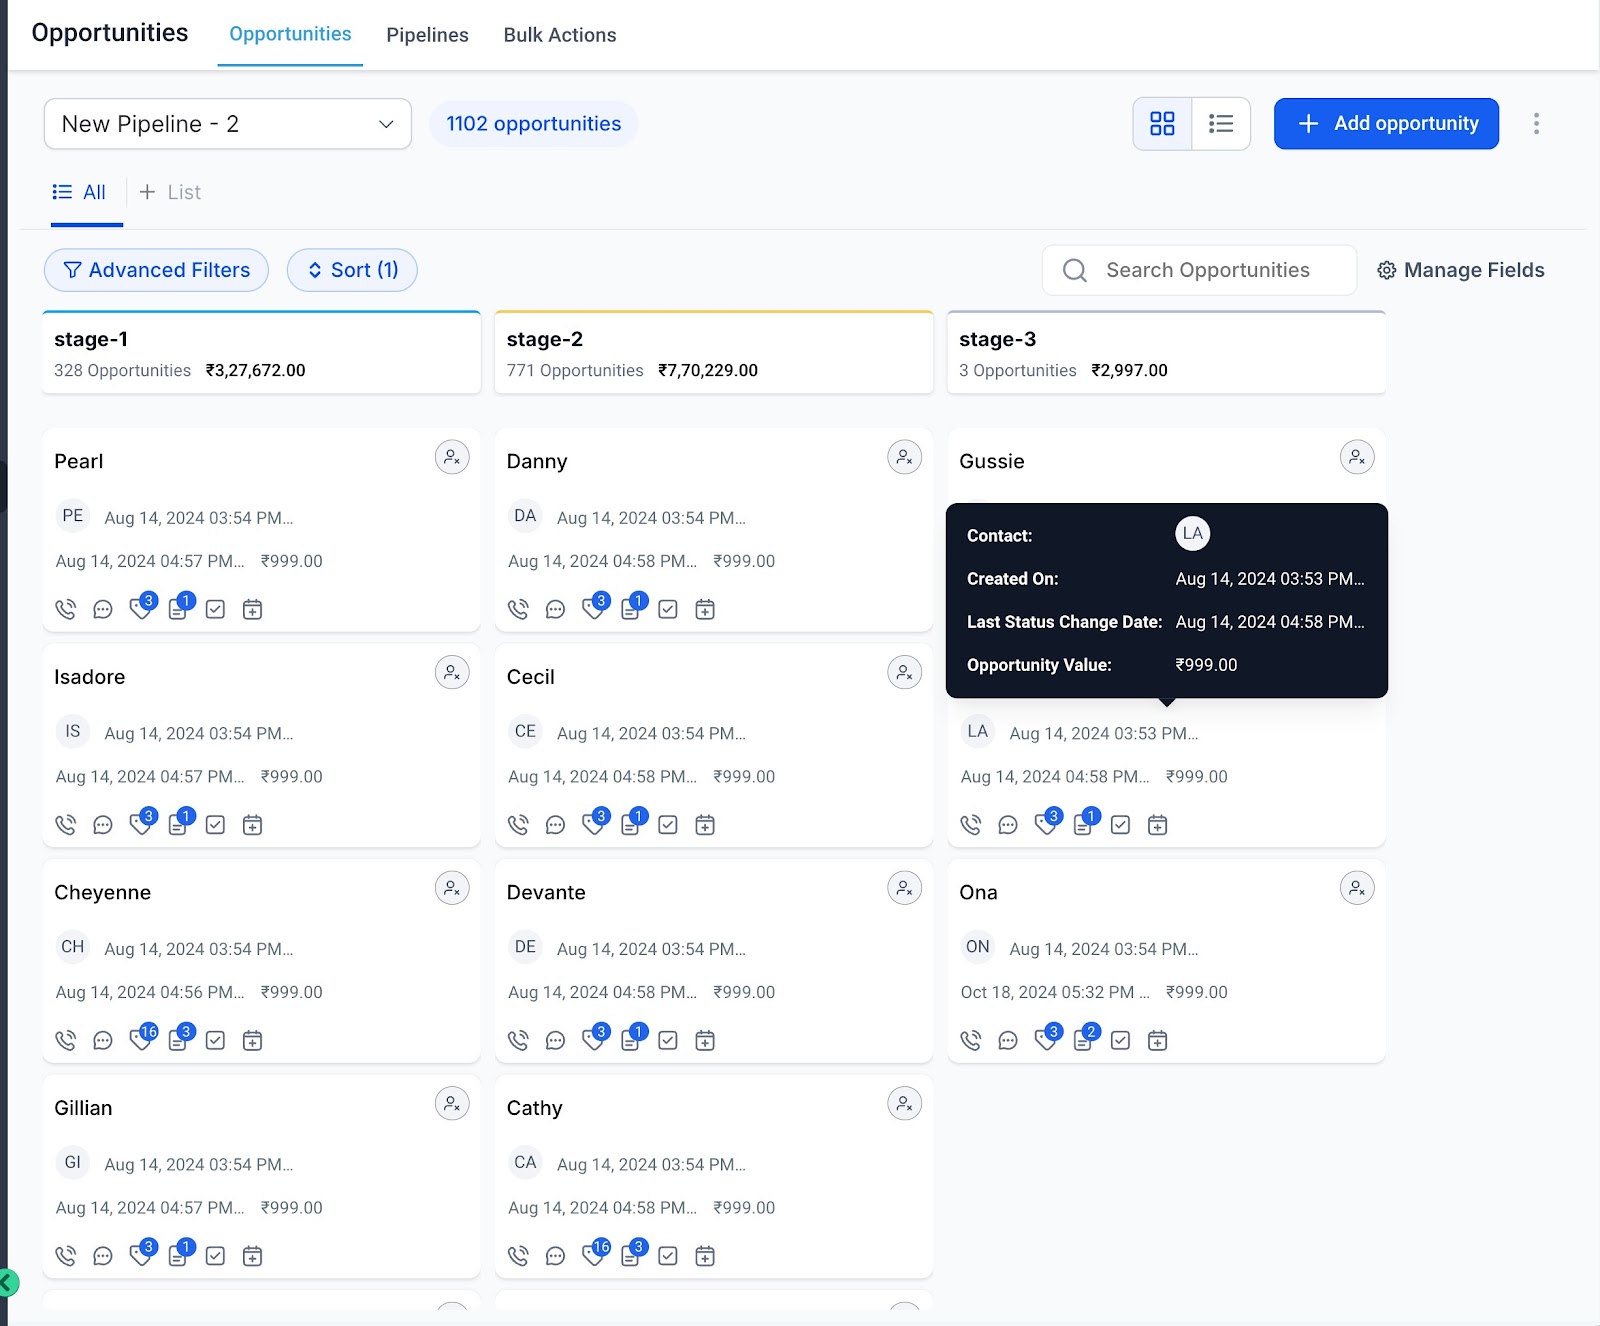
Opportunity Activity:
Created On
Updated On
Last Stage Change Date
Last Status Change Date
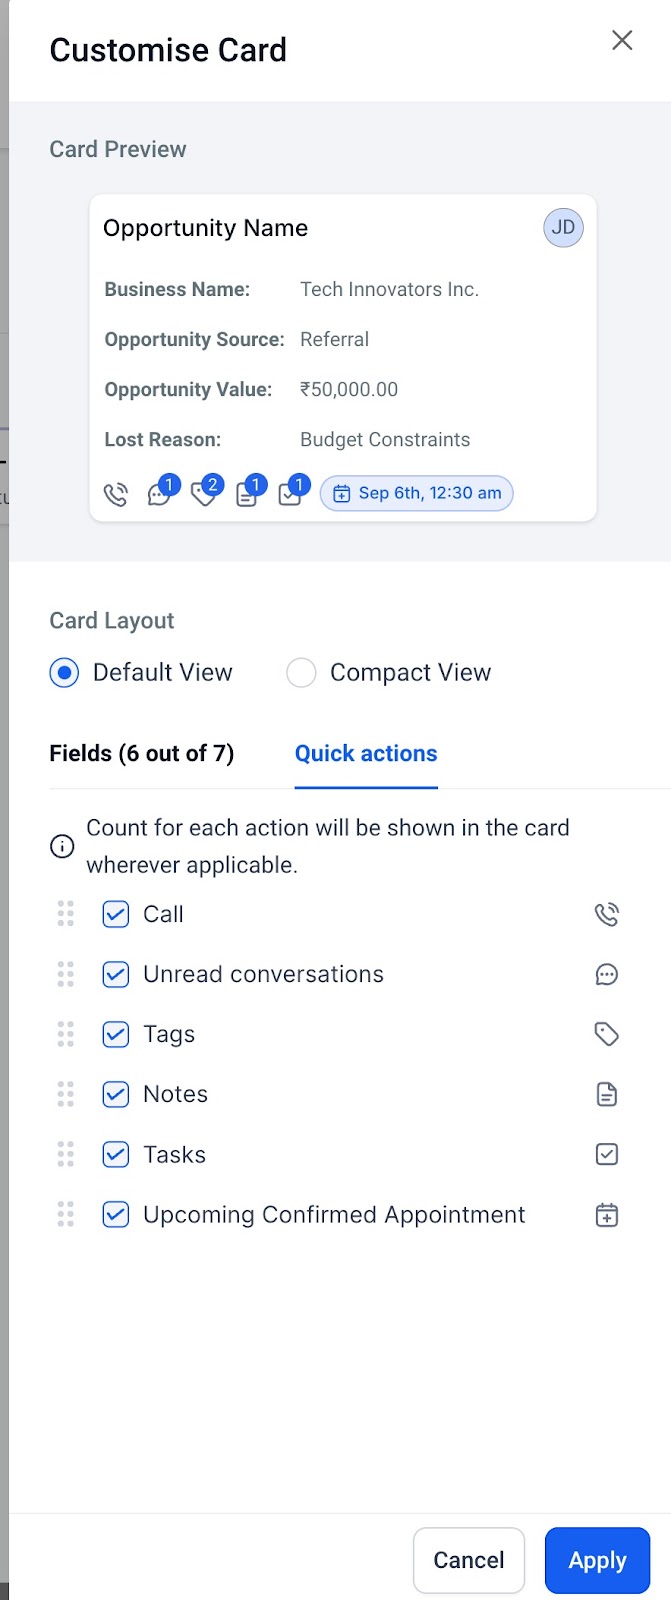
3. Customizing Counters at the Bottom of the Card:
You can also customize the counters and icons at the bottom of the Opportunity Card by moving to the “Quick Actions” tab. The available options include:
Conversations Icon (with unread messages count)
Task Icon (with task count)
Note Icon (with note count)
Tags Icon (with tag count)
Call Icon
Appointment Icon (with next appointment date)
When exporting opportunities from the customized view, the export will capture all opportunity fields, not just those displayed on the card.
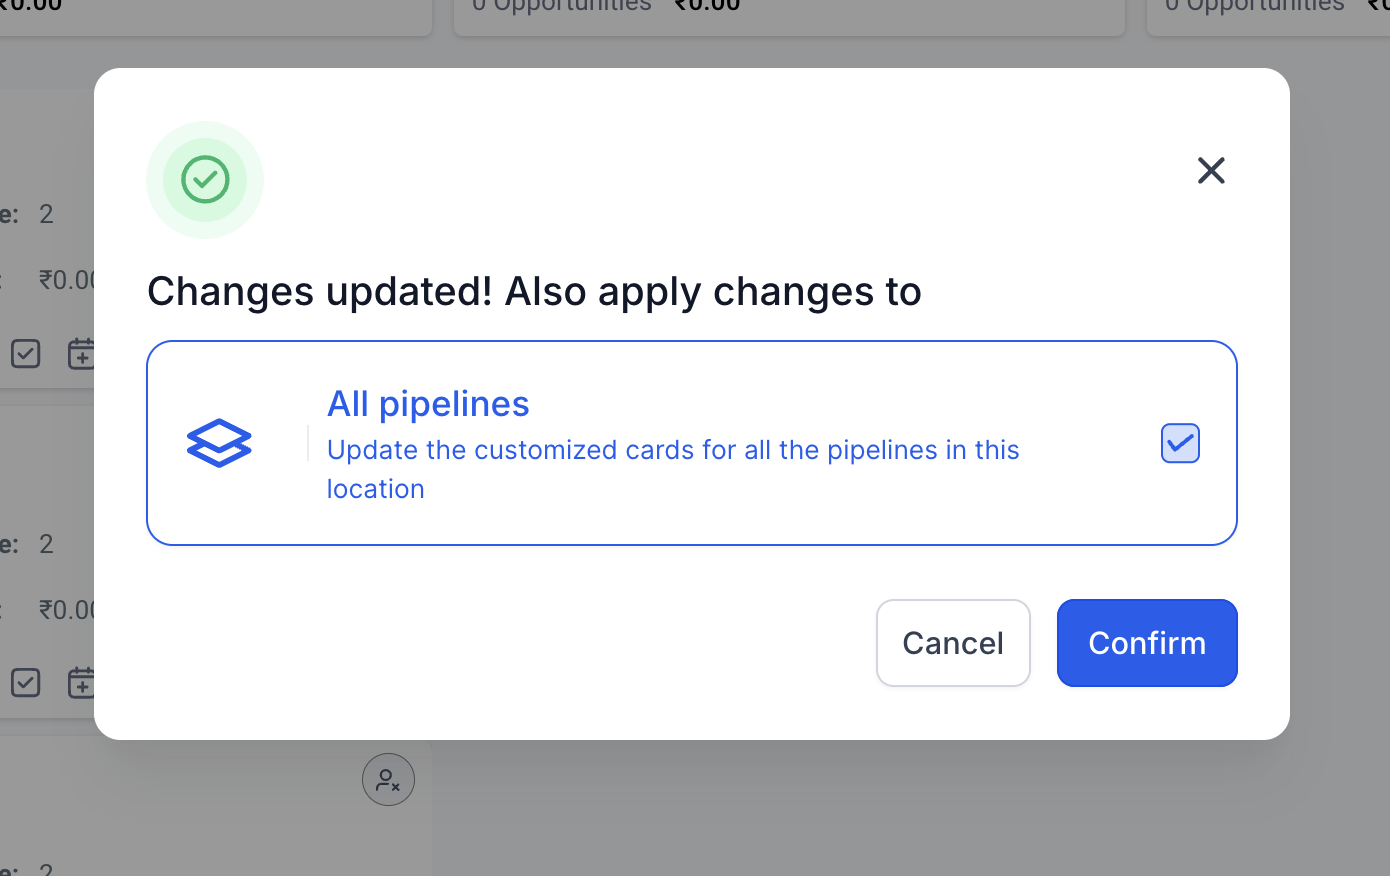
Feature 2 – Customizing for Multiple Pipelines
Customizations are applied per pipeline by default. However, if there are multiple pipelines in your location, you have an additional option to apply the changes to all pipelines.
Customizations are user-specific, meaning the changes will only apply to the user making the modifications, allowing personalized views.
Any customizations you apply are saved to the current view and will remain until you decide to change them again. However, these changes are stored locally and will only affect your current session. They won’t carry over if you open the page in a different browser or use a different user profile.
Feature 3 – Layout Options
Default View: Displays the selected fields with both field labels and values.
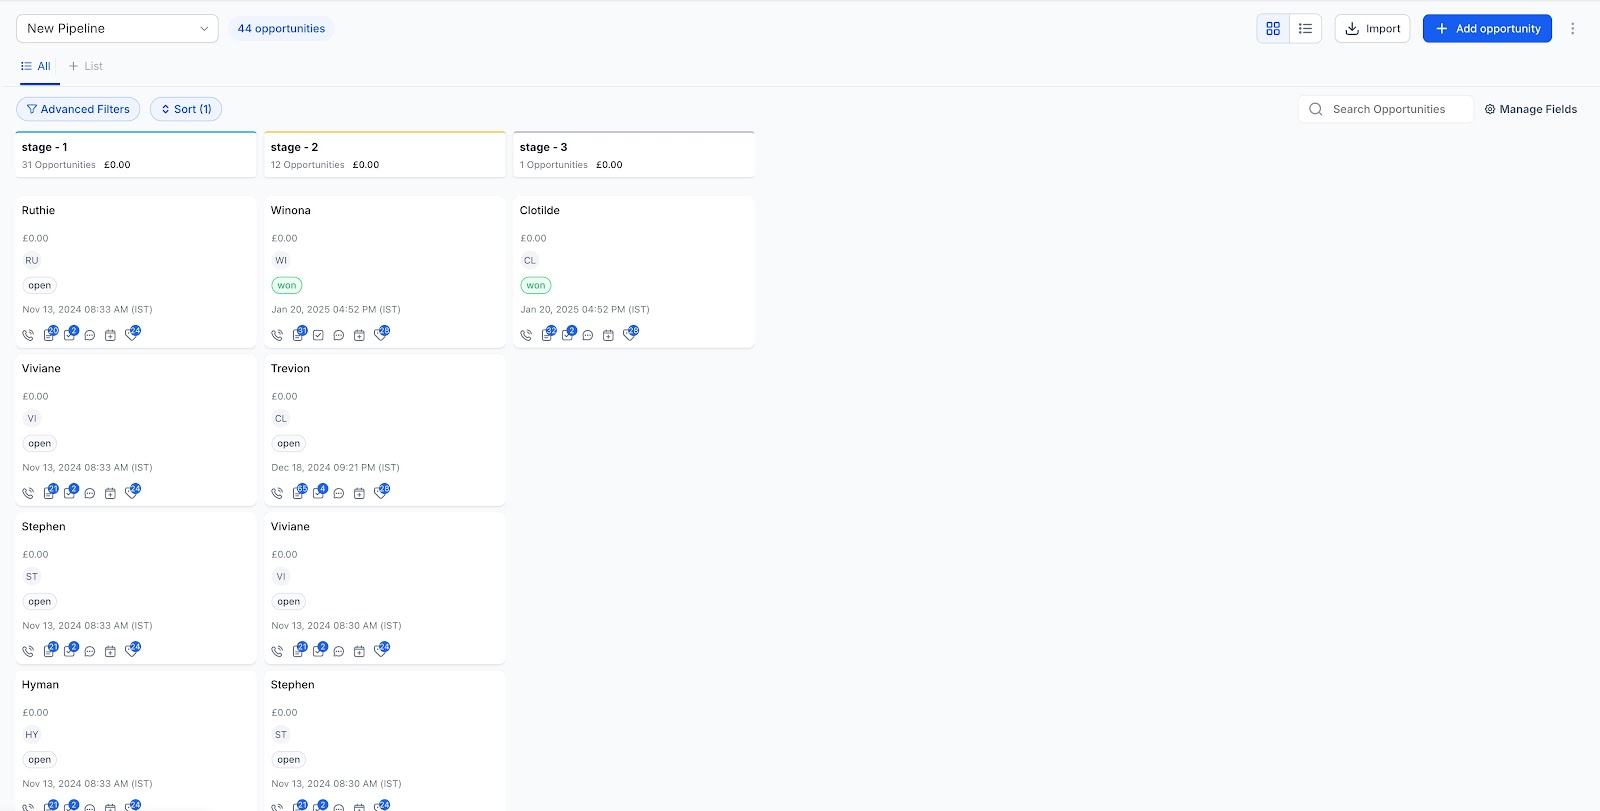
Compact View:
Displays only the values of the selected fields.
Hovering over a field reveals the label and additional details.


 Displays the selected fields with both field labels and values.