The mobile Point-of-Sale (POS) module serves as a comprehensive payment hub, bringing together all three payment solutions in one place. Easily manage POS transactions (Tap to Pay, Cash, Cards, and Manual Entry), Invoices, and Estimates from a single, unified module.
Conventional payment methods – Choose from the list of available payment methods like Tap to Pay, Cash, Cards, and Manual Entry
Convert to Invoice – Convert a POS transaction into an invoice, whenever a customer would like to receive a detailed invoice and perform the transaction online or at a later time.
Convert to Estimate – Prepare an estimate from a POS transaction, which can be accepted or rejected by the customer after it is sent to them.
Processing payments in the field has never been easier. With a single module managing all your payment needs, you can stay focused on expanding your business while HighLevel handles the rest.
How To Use The Payment Hub
Tap the “$” icon in the bottom navigation bar of the app to access the POS. You can create the order using either the Keypad or the Catalog.
Once all the items have been added, move over to the Review page. Link a contact, add a discount, and review the details of your transaction.
Once everything looks good to go, tap on “Choose payment instruments”. Choose the right option based on the scenario: payment now, invoice, or estimate.
If your customer would like to complete the payment physically, choose from Tap to Pay, Cash, Cards, or Manual Entry.
Pay with Tap To Pay
Pay with cash (can also be recorded as a Manual Entry)
Pay with a credit card
Pay with a method that is not digital, or is not processed through the mobile app, and create a Manual Entry for it.
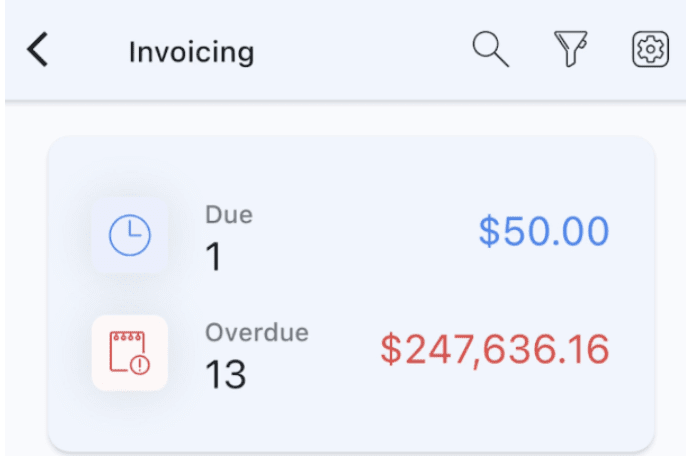
If your customer would like to receive a detailed invoice and complete the payment online, select the “Convert to Invoice” option. This will open up the invoice editor with the majority of the details already filled out. All you have to do is configure the due date, invoice number (if required), and review the final invoice.
If your customer would like to receive a quote instead of going ahead with the transaction, select the “Convert to Estimate” option. This will open up the estimate editor with the majority of the details already filled out. All you have to do is configure the due date, estimate number (if required), and review the final estimate.