The Custom Checkbox feature in Form Builder enables visitors to explicitly confirm their consent to receive communications from your business or your client’s. This is particularly valuable for ensuring compliance with GDPR regulations in regions where additional consent is mandated.
Step 1: Create Custom Field Inside Of Form Builder
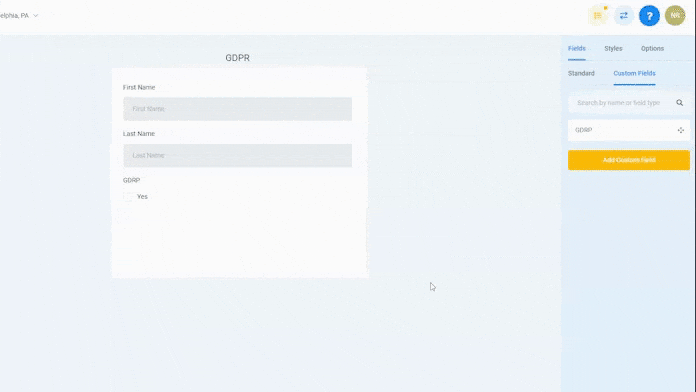
Navigate over to the Custom Fields on the top right.
Below you will see an Orange Box, click on it to add a custom field.
A menu will appear, Select “Checkbox”
Give the field a name, such as “GDPR Compliance Checkbox”
The placeholder field will be the content that will appear on the form.
This is your GDPR Compliance Statement Please note: The content shown in this video is NOT A FORMAL GDPR COMPLIANCE STATEMENT; it is provided solely for illustrative purposes.
Step 2: Making The Checkbox Field Required
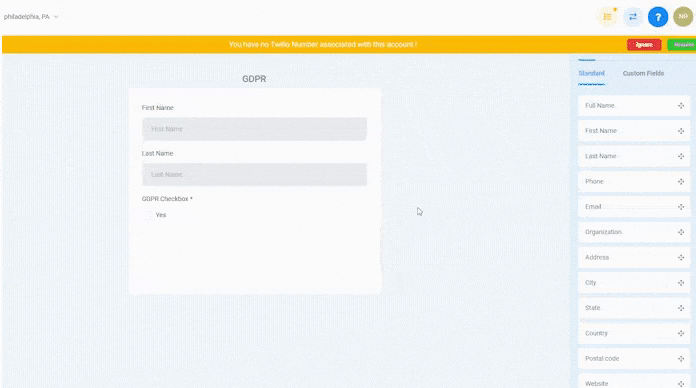
Hover your mouse over and click on the GDPR Checkbox field On The Form.
Once selected on the right-hand side a Required Box Will Appear.
By clicking on the box a checkmark will appear and this will state that the GDPR Checkbox field in the form is a required action in order for the form to be submitted.
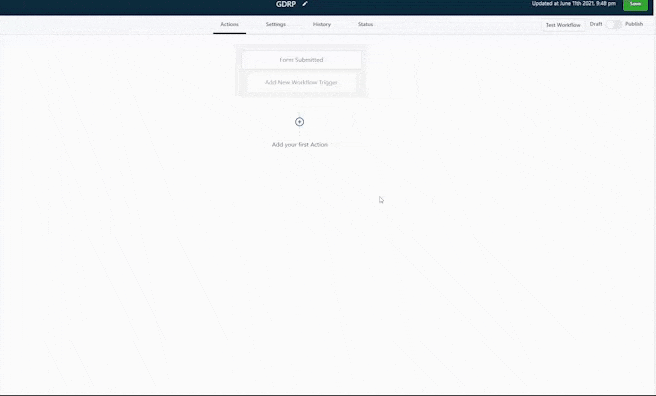
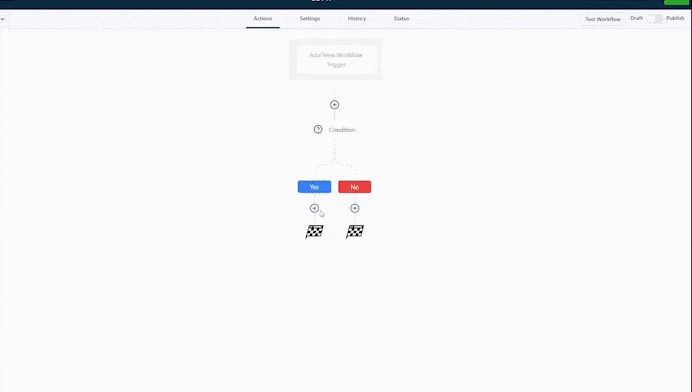
Step 3: Creating a GDPR Workflow
Navigate to the workflow panel and select “Start From Scratch” and click create a new workflow on the top right.
Select the title at the top and name the workflow as desired.
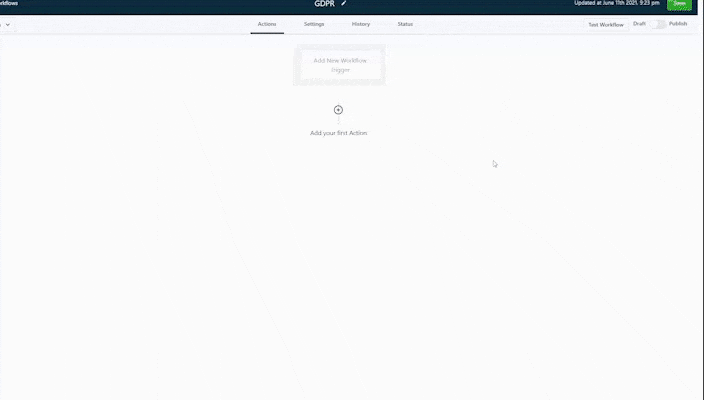
Step 4: Setting up the workflow Trigger
Click on “Add New Workflow Trigger”
A menu will appear, the third column will say “Choose a Workflow Trigger” Select and scroll down till you see “Form Submitted”
Select the custom field and apply the Yes condition
Step 5: Add your Workflow Action
Click on the + sign to open up the actions menu.
Scroll down to the Conditions and Workflow section and Select “If / Else”
Inside Segments on the left in “Select” click on Contact Details and scroll down to Custom fields where you will see your GDPR checkbox custom field.
Next over in Select Operator, click on includes and another field will open and select yes.
Hit Save on the bottom right.
Step 6: Setting up your Yes / No paths
Under the Yes path click on the + sign to open up the actions.
Under the “CRM” section select Add Contact Tag
Once you click on “Select a Tag” your tags will pop up, and if you do not already have the tag made, you can enter in the name of the tag that you want it to be and create it right then and there.
Hit Save on the bottom right.
For the no path, you will follow the same steps, the only difference will be that the tag name will be non-compliant
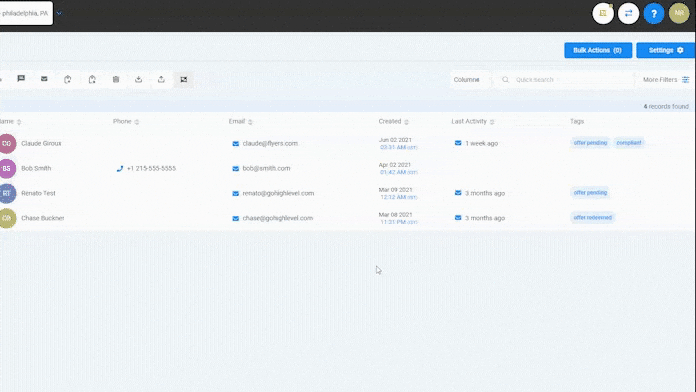
Step 7: Setting up your SmartLists
Hop over to Contacts / Smartlists
On the right-hand side, you will see Filters.
Once selected, a “Add Filter” type box will appear, type in tag and in the select tag menu click on compliant.
To Save this smart list hit the “+” button above on the right to save so you can quickly view all contacts who are compliant.
You can repeat the same process to create the smart list with contacts that Do Not Comply.